Manual Install
If you choose the option to not install WordPress (empty environment) when adding a site, you can install WordPress manually. This is helpful if you want to run an older version of WordPress to test something like a plugin or theme.
Install WordPress using WP-CLI
- Connect to your site’s server with SSH and navigate to the site’s document root:
cd public - Download the latest version of WordPress with:
wp core download - Before we can install WordPress, we need to create the wp-config.php file and configure the database settings in it. For that, we’ll need the database name, database username, and database password. These details can be found in your site’s Info tab in MyKinsta.

Database access credentials in MyKinsta. The following command will prompt you for the database password (more secure than it possibly being stored in bash history). Replace “yourdbname” and “yourdbuser” with your site’s database name and database username from MyKinsta:
wp config create --dbname=yourdbname --dbuser=yourdbuser --prompt=dbpassWhen prompted, enter the database password, and your wp-config.php file will be generated.
- Now you’re ready to install WordPress. Update the following command with your site’s domain (or temporary URL if you haven’t added a custom domain yet), title, your preferred admin username, and admin email address. When prompted for the password, enter a unique and strong password.
wp core install --url=example.com --title="Your New WordPress Site" --admin_user=youruser --prompt=admin_password [email protected] - Optional: The core install command installs the latest version of WordPress. If you’d like to downgrade WordPress for testing, use this command, replacing the version number with your desired version:
wp core update --version=5.7.3 --force - You can now head to your WordPress login page (/wp-admin) and log in.
- Because WordPress was installed manually, the last step you’ll need to complete is installing the Kinsta MU plugin to ensure your site runs smoothly in our environment.
Install WordPress using SFTP
- Download the version of WordPress you want to install from WordPress.org, saving it where you can easily find it on your computer.
- After your download completes, extract the files from the download.
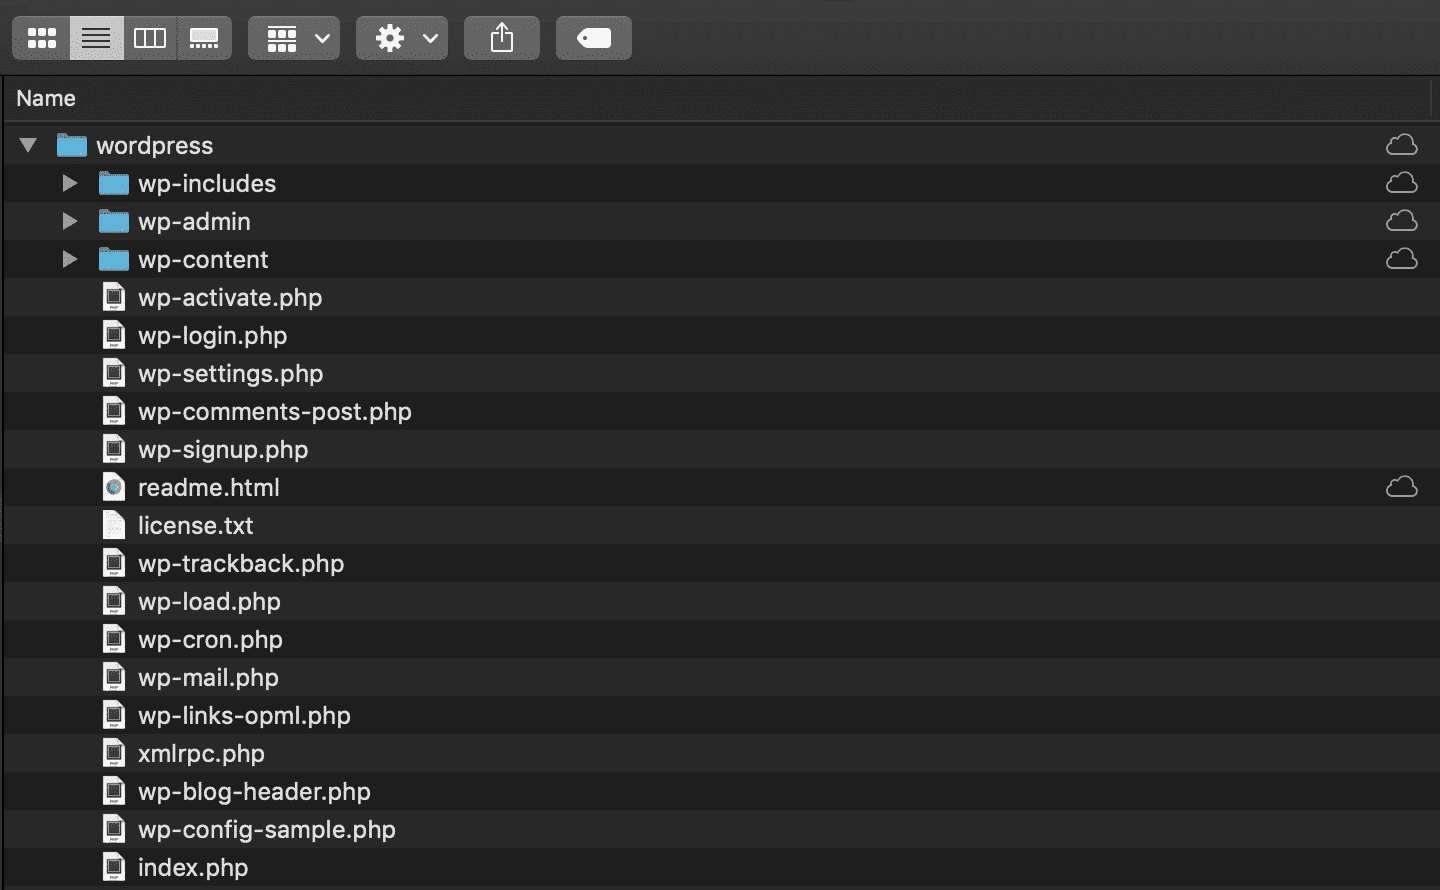
Viewing extracted WordPress core files. - Inside the wordpress folder, rename wp-config-sample.php to wp-config.php and open it with your preferred text editor.
- To update the file, we need to first copy the database name, database username, and database password from the site’s Info tab in MyKinsta.
Database access credentials in MyKinsta. - Update the MySQL settings in wp-config.php with those details. Leave the other MySQL settings unchanged.
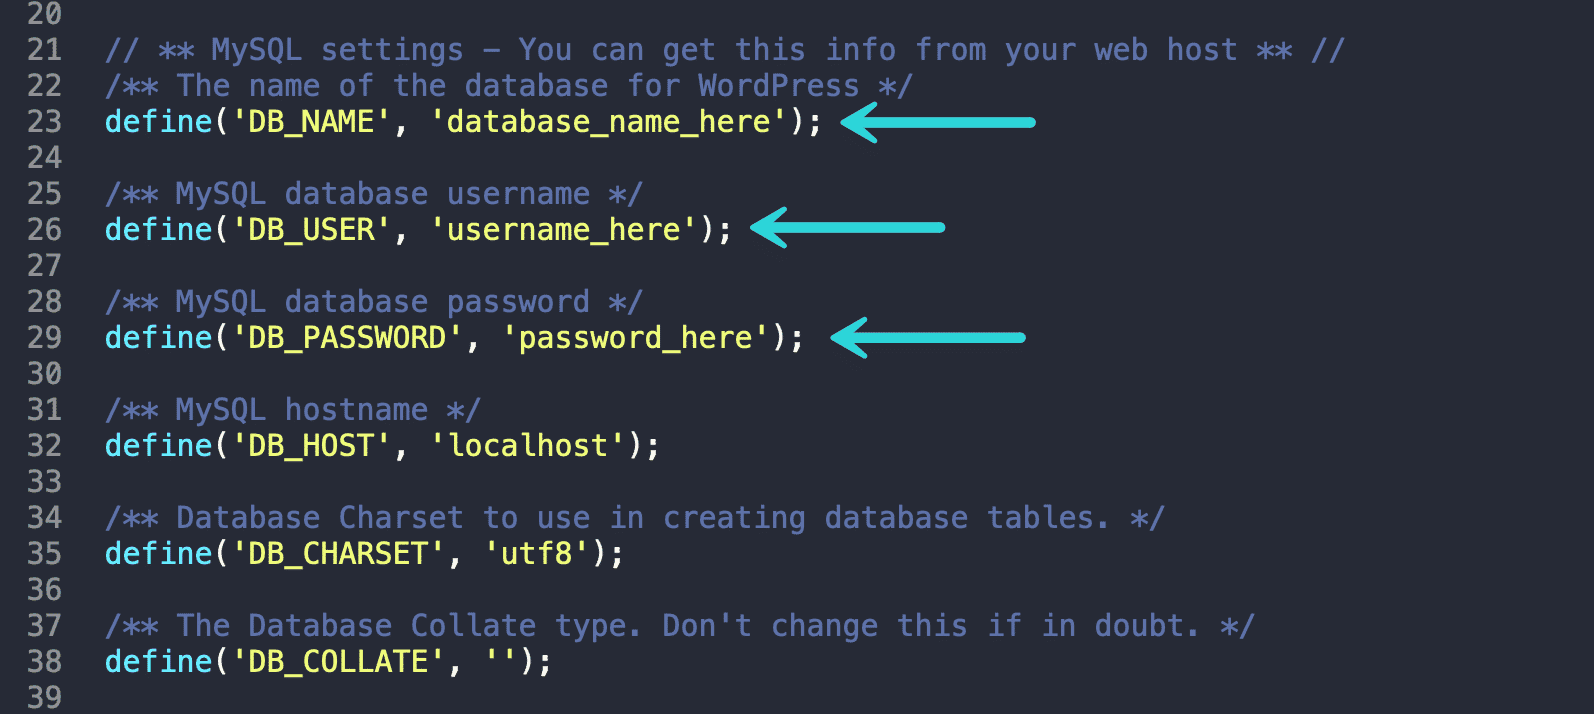
Updating wp-config.php with database details. - Next, generate unique WordPress salts with the WordPress.org secret-key tool and update your wp-config.php file with the new salts and save the file.
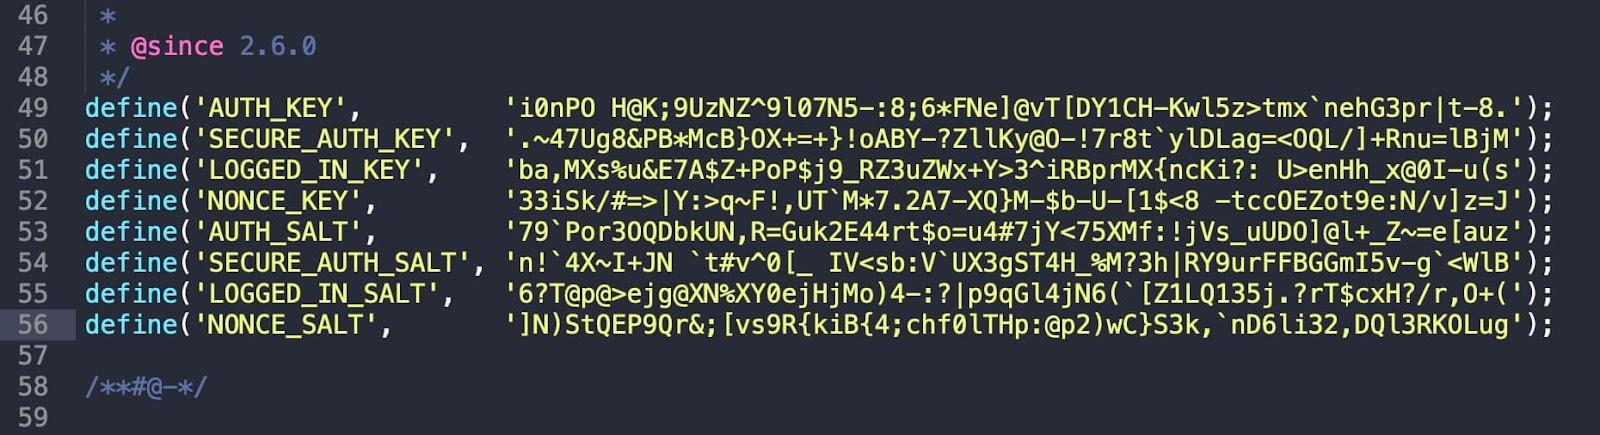
New WordPress salts in wp-config.php - Now, it’s time to upload your WordPress files to your site’s server. To do this, you’ll need to connect to your site with SFTP. Once you’re connected, navigate into the public folder/directory. Upload the contents of the wordpress folder (but not the folder itself) from your local computer into public on the server. Note: You can skip or delete the readme.html and license.txt files, as these aren’t needed. The upload may take several minutes, depending on the speed of your internet connection.
- To run the WordPress installer, you’ll need to visit your site. From your site’s Domains list in MyKinsta, click Open URL next to your Primary Domain.
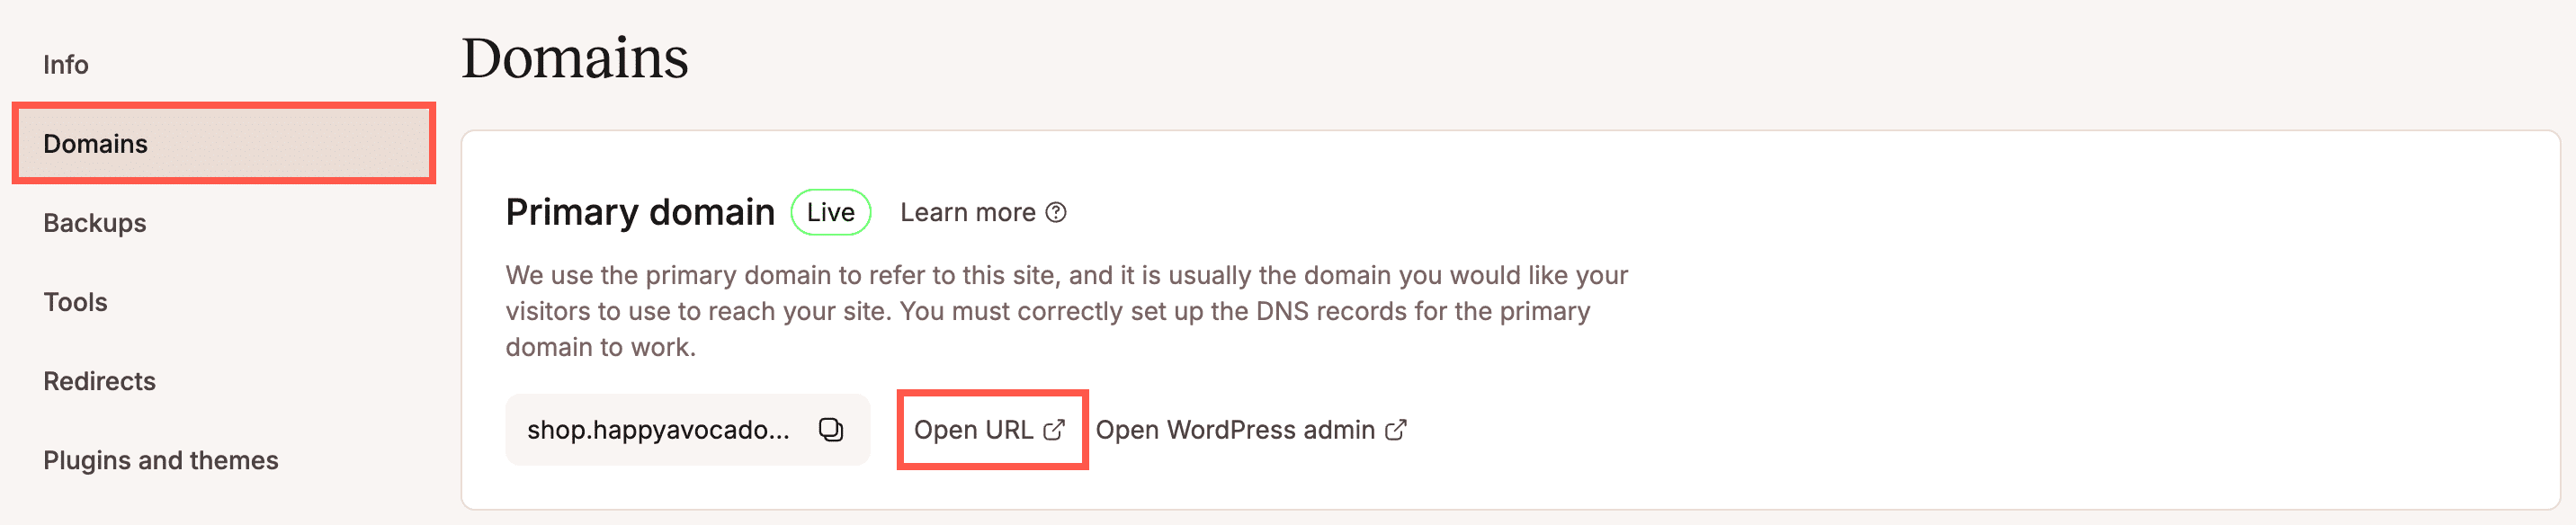
Open URL link in MyKinsta. - Visiting your site will show the WordPress installer where you can choose the language for your site and click Continue.

WordPress installer on website. - Enter your Site Title, Username, Password, email address, and choose whether you want to discourage search engines from indexing your site.
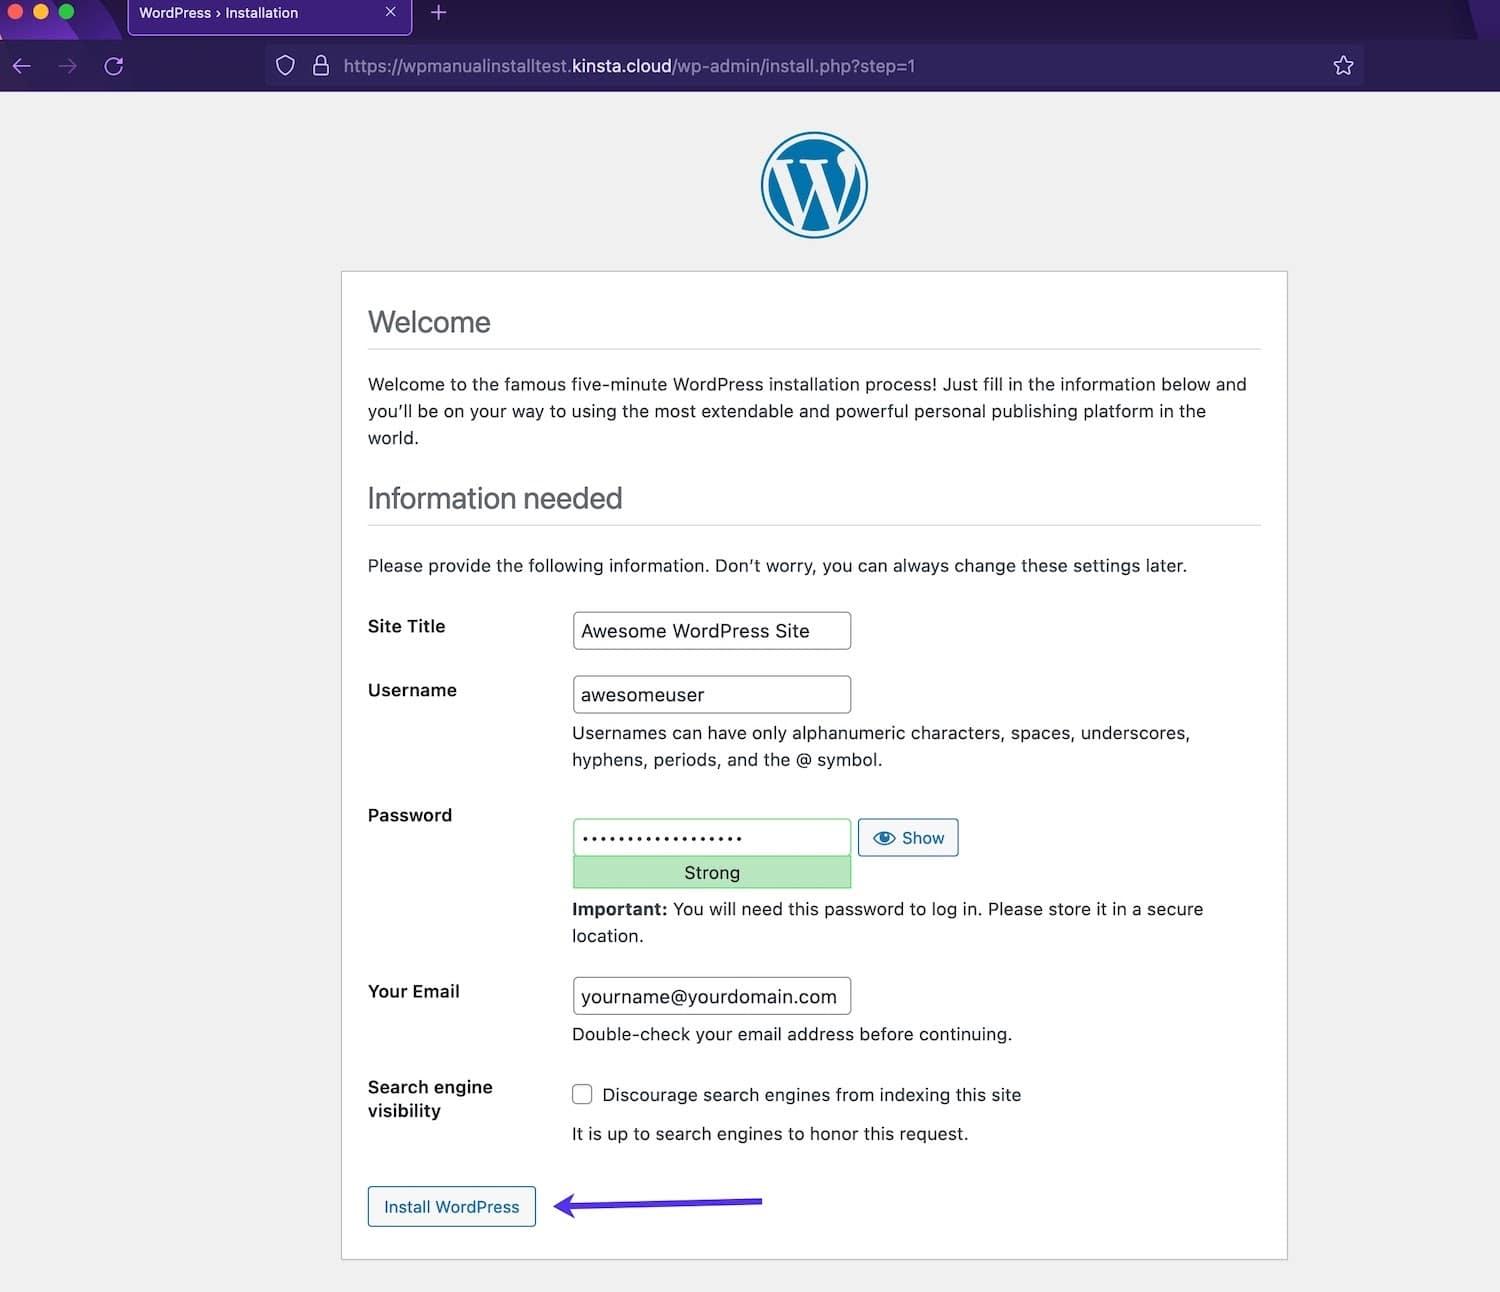
Entering site details in WordPress installer. A success message will appear, and you’ll also receive an email with your login URL and username.
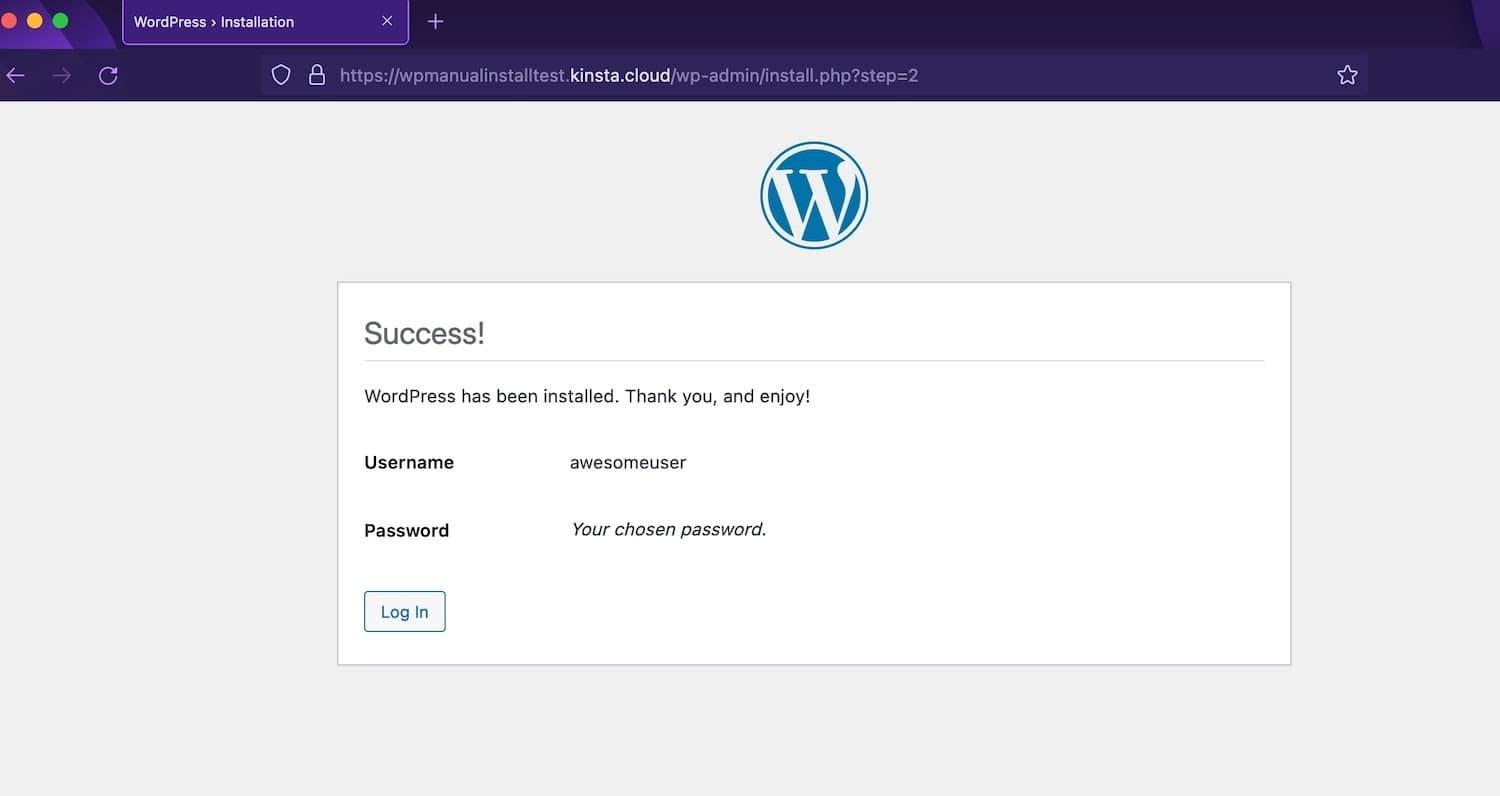
Success message from WordPress installer. - You can now head to your WordPress login page (wp-admin) and log in.
- The last step you’ll need to complete is installing the Kinsta MU plugin to ensure your site runs smoothly in our environment.
Replace temporary URL with a custom domain
If you install WordPress on the Kinsta temporary URL (https://yoursite.kinsta.cloud) you’ll need to update it with your own custom domain.
- Add, verify, and point your domain to the site in MyKinsta.
- Make the custom domain your primary domain.
- Login to your WordPress admin dashboard and go to Settings > General. Update your WordPress Address URL and Site Address URL with your custom domain.
- We also recommend forcing your site to load over HTTPS for added security.