Settings
On your application’s Settings page, you can find details about your application, manage settings like buildpacks, and suspend or delete it.
General
Details
This section shows the application display name, name, and ID. To change the display name, click Update display name, enter a new name, and click Update.

Source
This shows the information about the application source. The information shown depends on whether you use a Git repository or a Docker image.
Git repository
- Source type: Shows if the repository is private or public.
- Git type: Shows which Git provider the application is using.
- Repository and Default branch: The Git repository and branch.
- Automatic deployment on commit: When this box is checked, your application will automatically deploy each time a commit is made to the branch selected above.

To change any of the details, click Update source. If you change the Branch, you must manually deploy your application again, which you can do on the Deployments page.
Docker image
- Source type: This shows that the application is using a Docker image.
- Docker image: This is the path to your Docker image.
- Registry credential: This shows the name of the registry credentials set up within Company settings > Registry credentials.

To change any of the details, click Update source. If you change the Registry credential, you must manually deploy your application again, which you can do on the Deployments page.
Hibernation
Hibernation automatically scales down your application if no HTTP requests are received within the specified timeframe. When traffic resumes, the application wakes up in 30-90 seconds, with the HTTP request remaining pending during that time. Cron jobs and other jobs continue to run normally, even while hibernation is active. To enable hibernation on your application, click Edit hibernation.

Select Hibernate App, enter the number of idle minutes after which you want your application to enter hibernation, and click Save changes.

Build
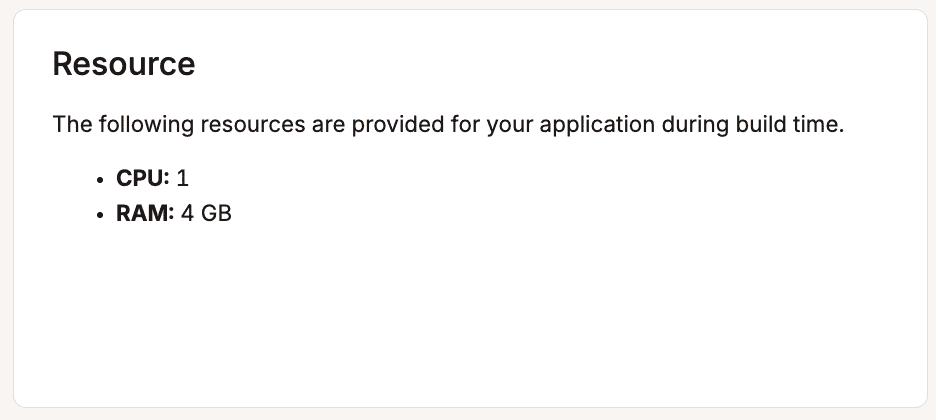
Resource
This shows the build machine used to build your application.
Environment
This shows which environment type is used to build your application and the build path.
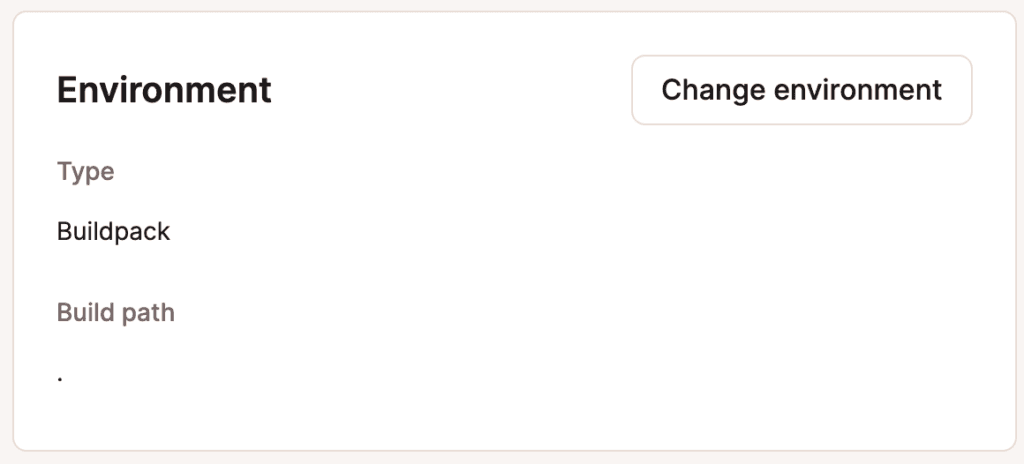
To change the build environment, click Change environment, and select from one of the following:
- Nixpacks: Use Nixpacks to create a container for your application based on your repository.
- Build path: This is the path in the repository to the files required to build the application. Most applications are built from the repository root, and the Build path defaults to this (.). If you have a different build path, specify it here. For example, if your application needs to be built from a subdirectory named app, enter app in the Build path field. This is also useful if you have a monorepo.
- Buildpacks: Use Buildpacks to create a container for your application based on your repository.
- Build path: This is the path in the repository to the files required to build the application. Most applications are built from the repository root, and the Build path defaults to this (.). If you have a different build path, specify it here. For example, if your application needs to be built from a subdirectory named app, enter app in the Build path field. This is also useful if you have a monorepo.
- Dockerfile: Use a Dockerfile (stored in your repository) to create a container for your application.
- Dockerfile path: This is the path to your Dockerfile relative to the repository root. For example, if your Dockerfile is in the repository root, enter Dockerfile in that field. If your Dockerfile is in a subdirectory named app, enter the path to the Dockerfile: app/Dockerfile.
- Context: This is the path in the repository we need access to so we can build your application. Most applications are built from the repository root, and you can enter the repository root (.) in the Context field. For example, if your application needs to be built from a subdirectory named app, enter app in the Context field.
If you change the environment, you must manually deploy your application again, which you can do on the Deployments page.
Buildpack
This section is only visible if your application’s container image is created with a Buildpack. You can view and manage your application’s buildpacks here. If you add or edit buildpacks, you must manually deploy your application again, which you can do on the Deployments page.

Danger zone
Suspend or resume application
There may be times when you need to stop an application without deleting it. This can be useful if you need to troubleshoot issues or test parts of the application without it running.
Suspending the application doesn’t change or remove anything from it. Connections to the application remain in place but will not work while the application is suspended. You will not incur any costs for the application during the suspension.
Click Suspend application and confirm the suspension by clicking Suspend application again in the modal/pop-up.

When you’re ready to restart your application, click Resume application and confirm the restart by clicking Resume application again in the modal/pop-up.

Delete application
If you no longer need the application, click Delete application, enter your application name, and click Delete application again to remove it completely.

Deleting the application completely removes the following:
- All files
- Settings
- Persistent storage disks
- Connections to other applications or databases.