PHP
To use our example repositories, you must create a MyKinsta account. This article includes examples of how to set up the following PHP applications to deploy on Kinsta’s Application Hosting services from a GitHub repository:
PHP
- In MyKinsta, click Applications > Add application > select Git repository > Public repository, and complete as follows:
- Repository URL: https://github.com/kinsta/hello-world-php
- Branch: main
- Enter a Name, choose a Location, choose a pod size within Resources, and click Create & deploy.
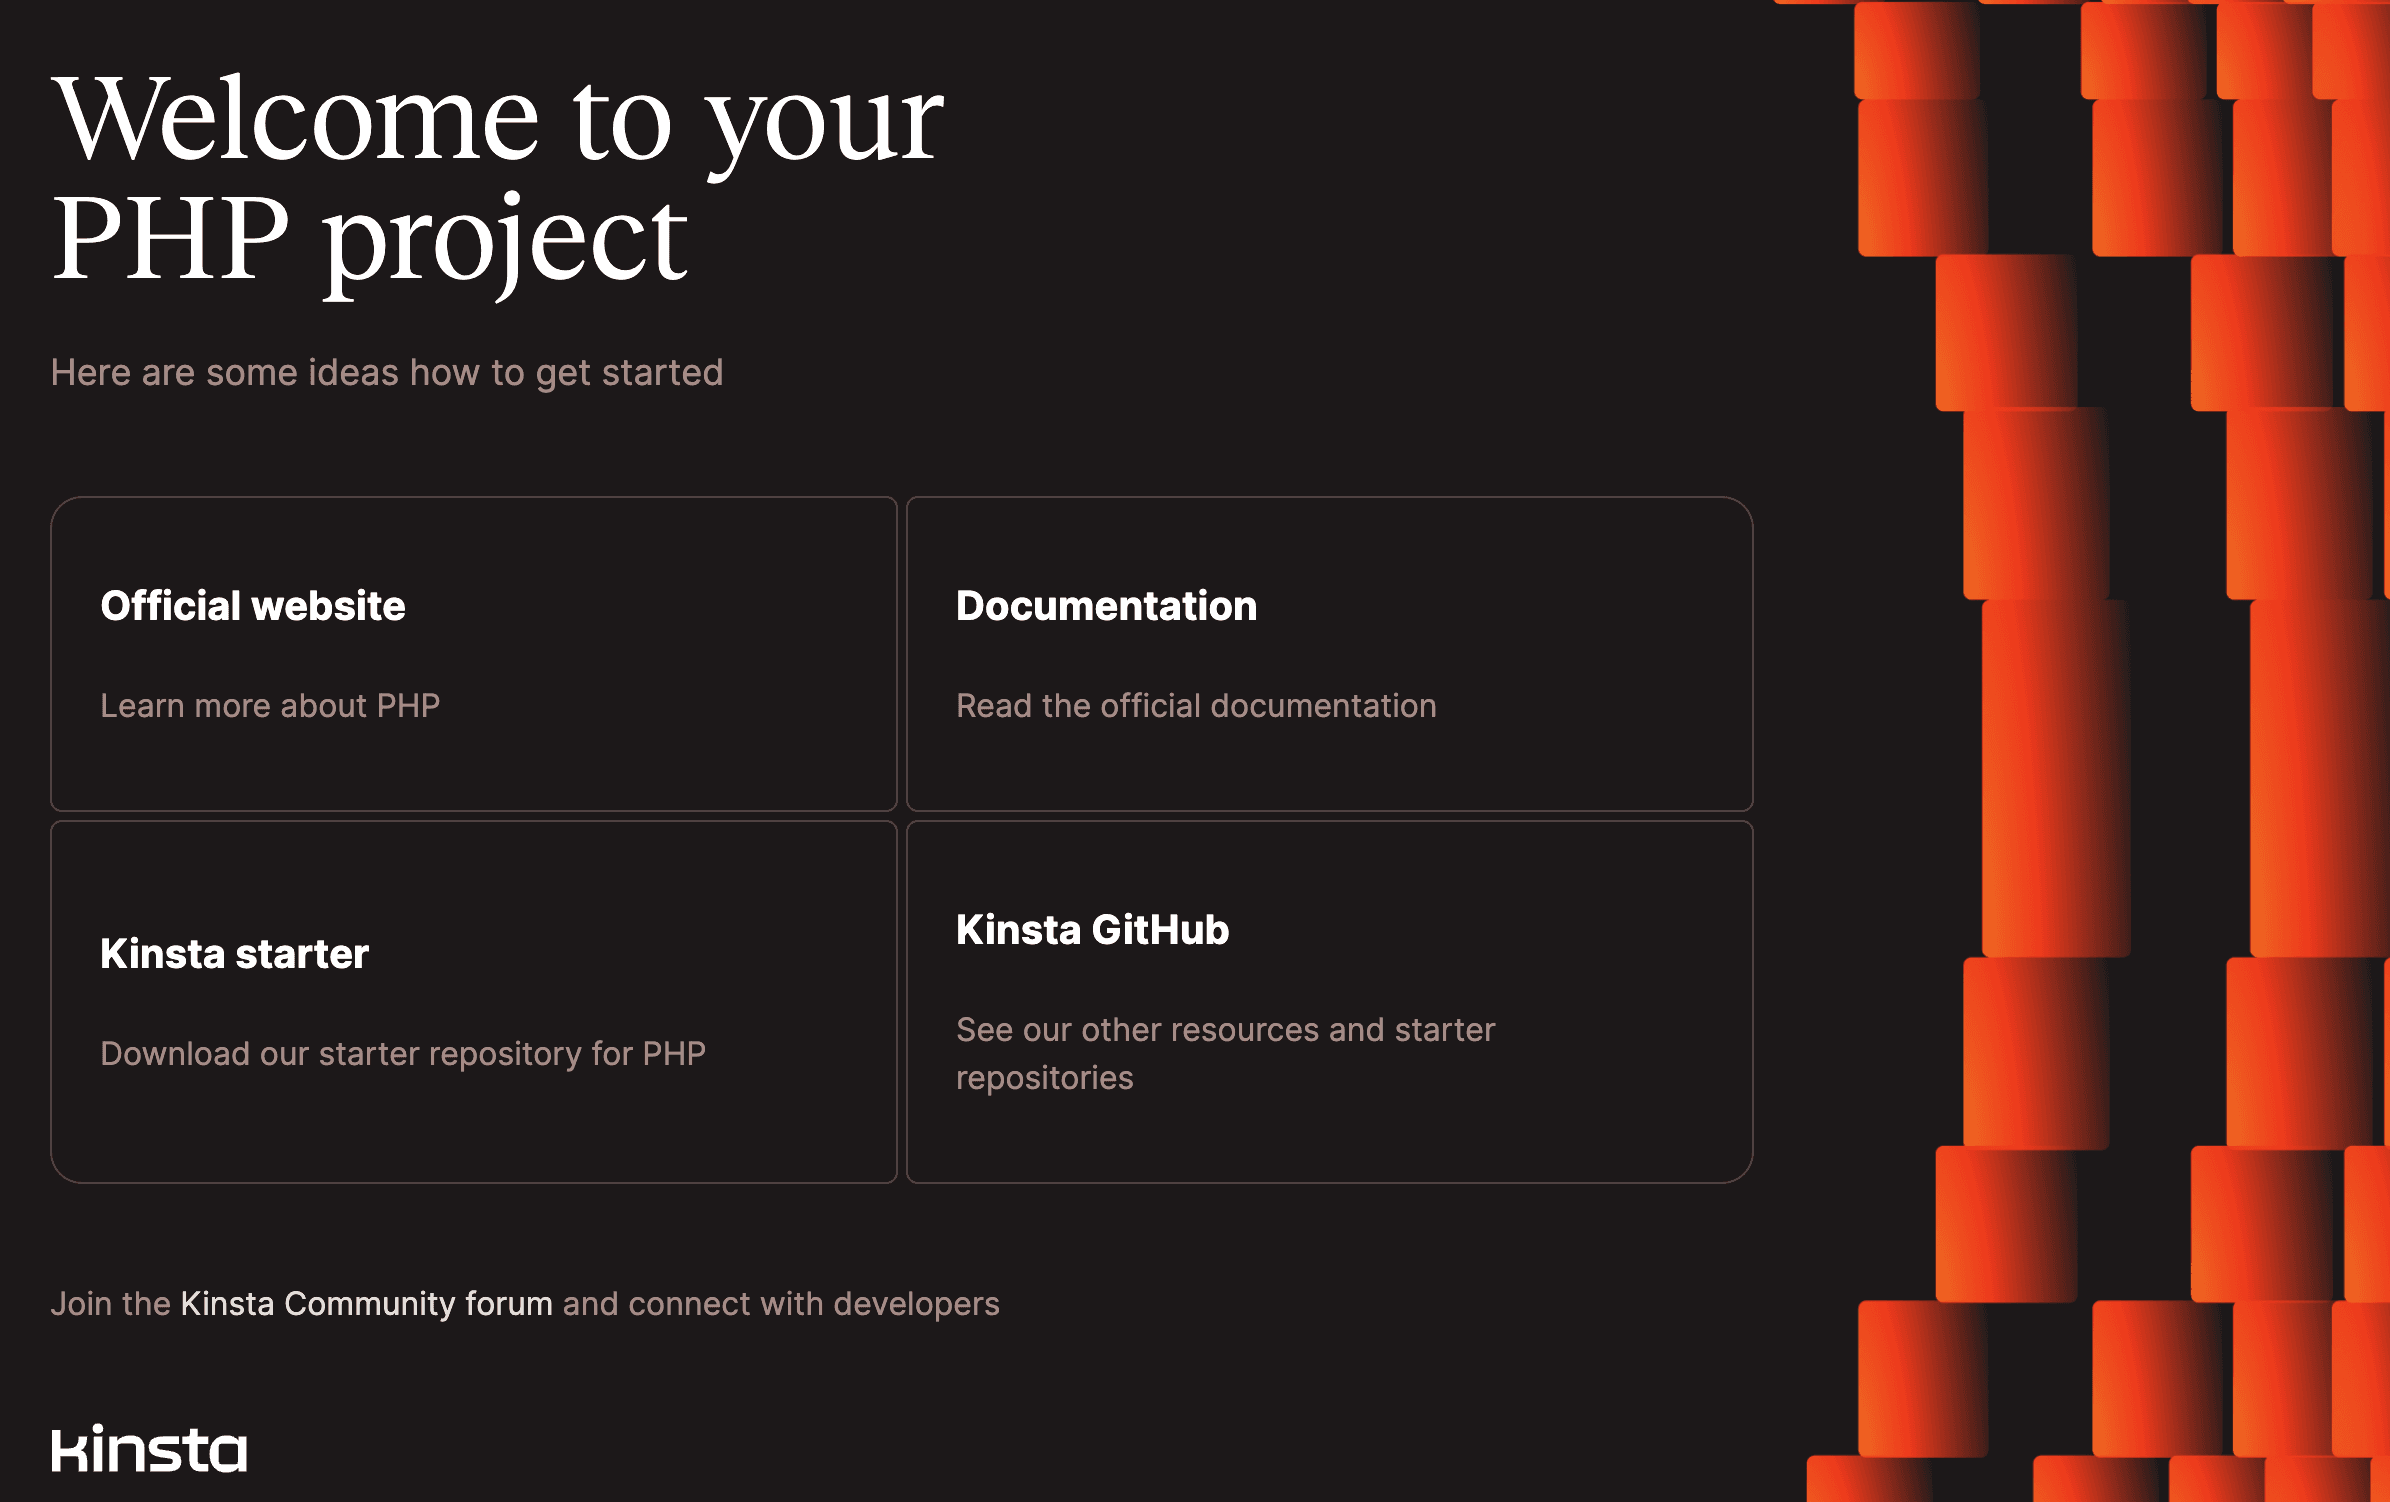
During deployment, Kinsta automatically detects the Start command for the web process and installs dependencies defined in your composer.json file. The app is available as soon as the deployment finishes, and the Kinsta Welcome page loads at your application’s URL.
Prefer to watch the video version?
Web server setup
Kinsta automatically configures an Apache web server that serves your index.php file from the main directory of the project in the usual fashion. Create an index.php file in your project folder as your default index page.
Jigsaw
This is an example of how to set up a static site with Jigsaw on Kinsta’s Application Hosting services from a GitHub repository.
Jigsaw is a static site framework that uses Blade templates to create your page layouts and Markdown to build your content within the templates so you can produce simple static sites without complex coding knowledge. More information is available on the Jigsaw website.
- In MyKinsta, click Applications > Add application > select Git repository > Public repository, and complete as follows:
- Repository URL: https://github.com/kinsta/hello-world-jigsaw
- Branch: master
- Enter a Name, choose a Location, choose a pod size within Resources, and click Create & deploy.
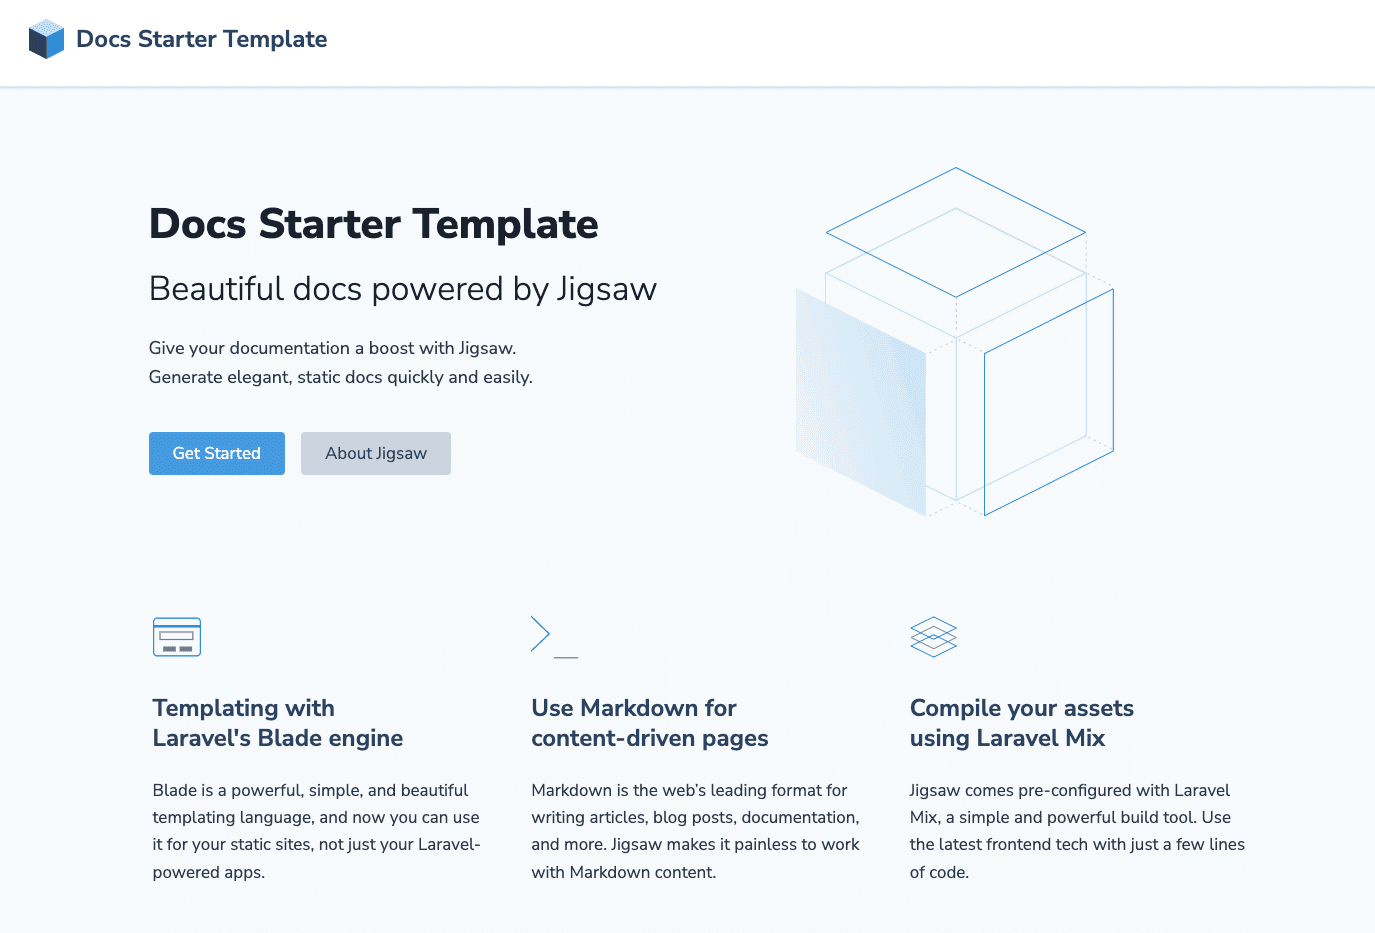
Jigsaw is based on Laravel; it’s a regular PHP-based application, so during deployment, Kinsta automatically detects the Start command for the web process and installs dependencies defined in your composer.json file. The app is available as soon as the deployment finishes, and a default Jigsaw page loads at your application’s URL.
Buildpacks
If you’re using Buildpacks to build the application you’ll need to add these two Buildpacks:
- Node JS
- PHP
Web server setup
Start command
When you deploy the application, Kinsta automatically creates a web process with npm start as the Start command. If required, you can change this within Processes.
Laravel
This is an example of how to set up a Laravel application to deploy on Kinsta’s Application Hosting services from a GitHub repository.
- Laravel requires the
APP_KEYenvironment variable to be set. You can generate an app key yourself locally, or you can use this online Laravel key generator. - In MyKinsta, click Applications > Add application > select Git repository > Public repository, and complete as follows:
- Repository URL: https://github.com/kinsta/hello-world-laravel
- Branch: main
- Enter a Name, choose a Location, choose a pod size within Resources, and click Create.
- Once the application is created, click Environment variables > Add environment variable, in Key 1, enter
APP_KEY, and in Value 1, paste the key generated from Step 1, select Available during runtime and Available during build process, and click Save. - Click Deployments > Deploy now > Deploy application.
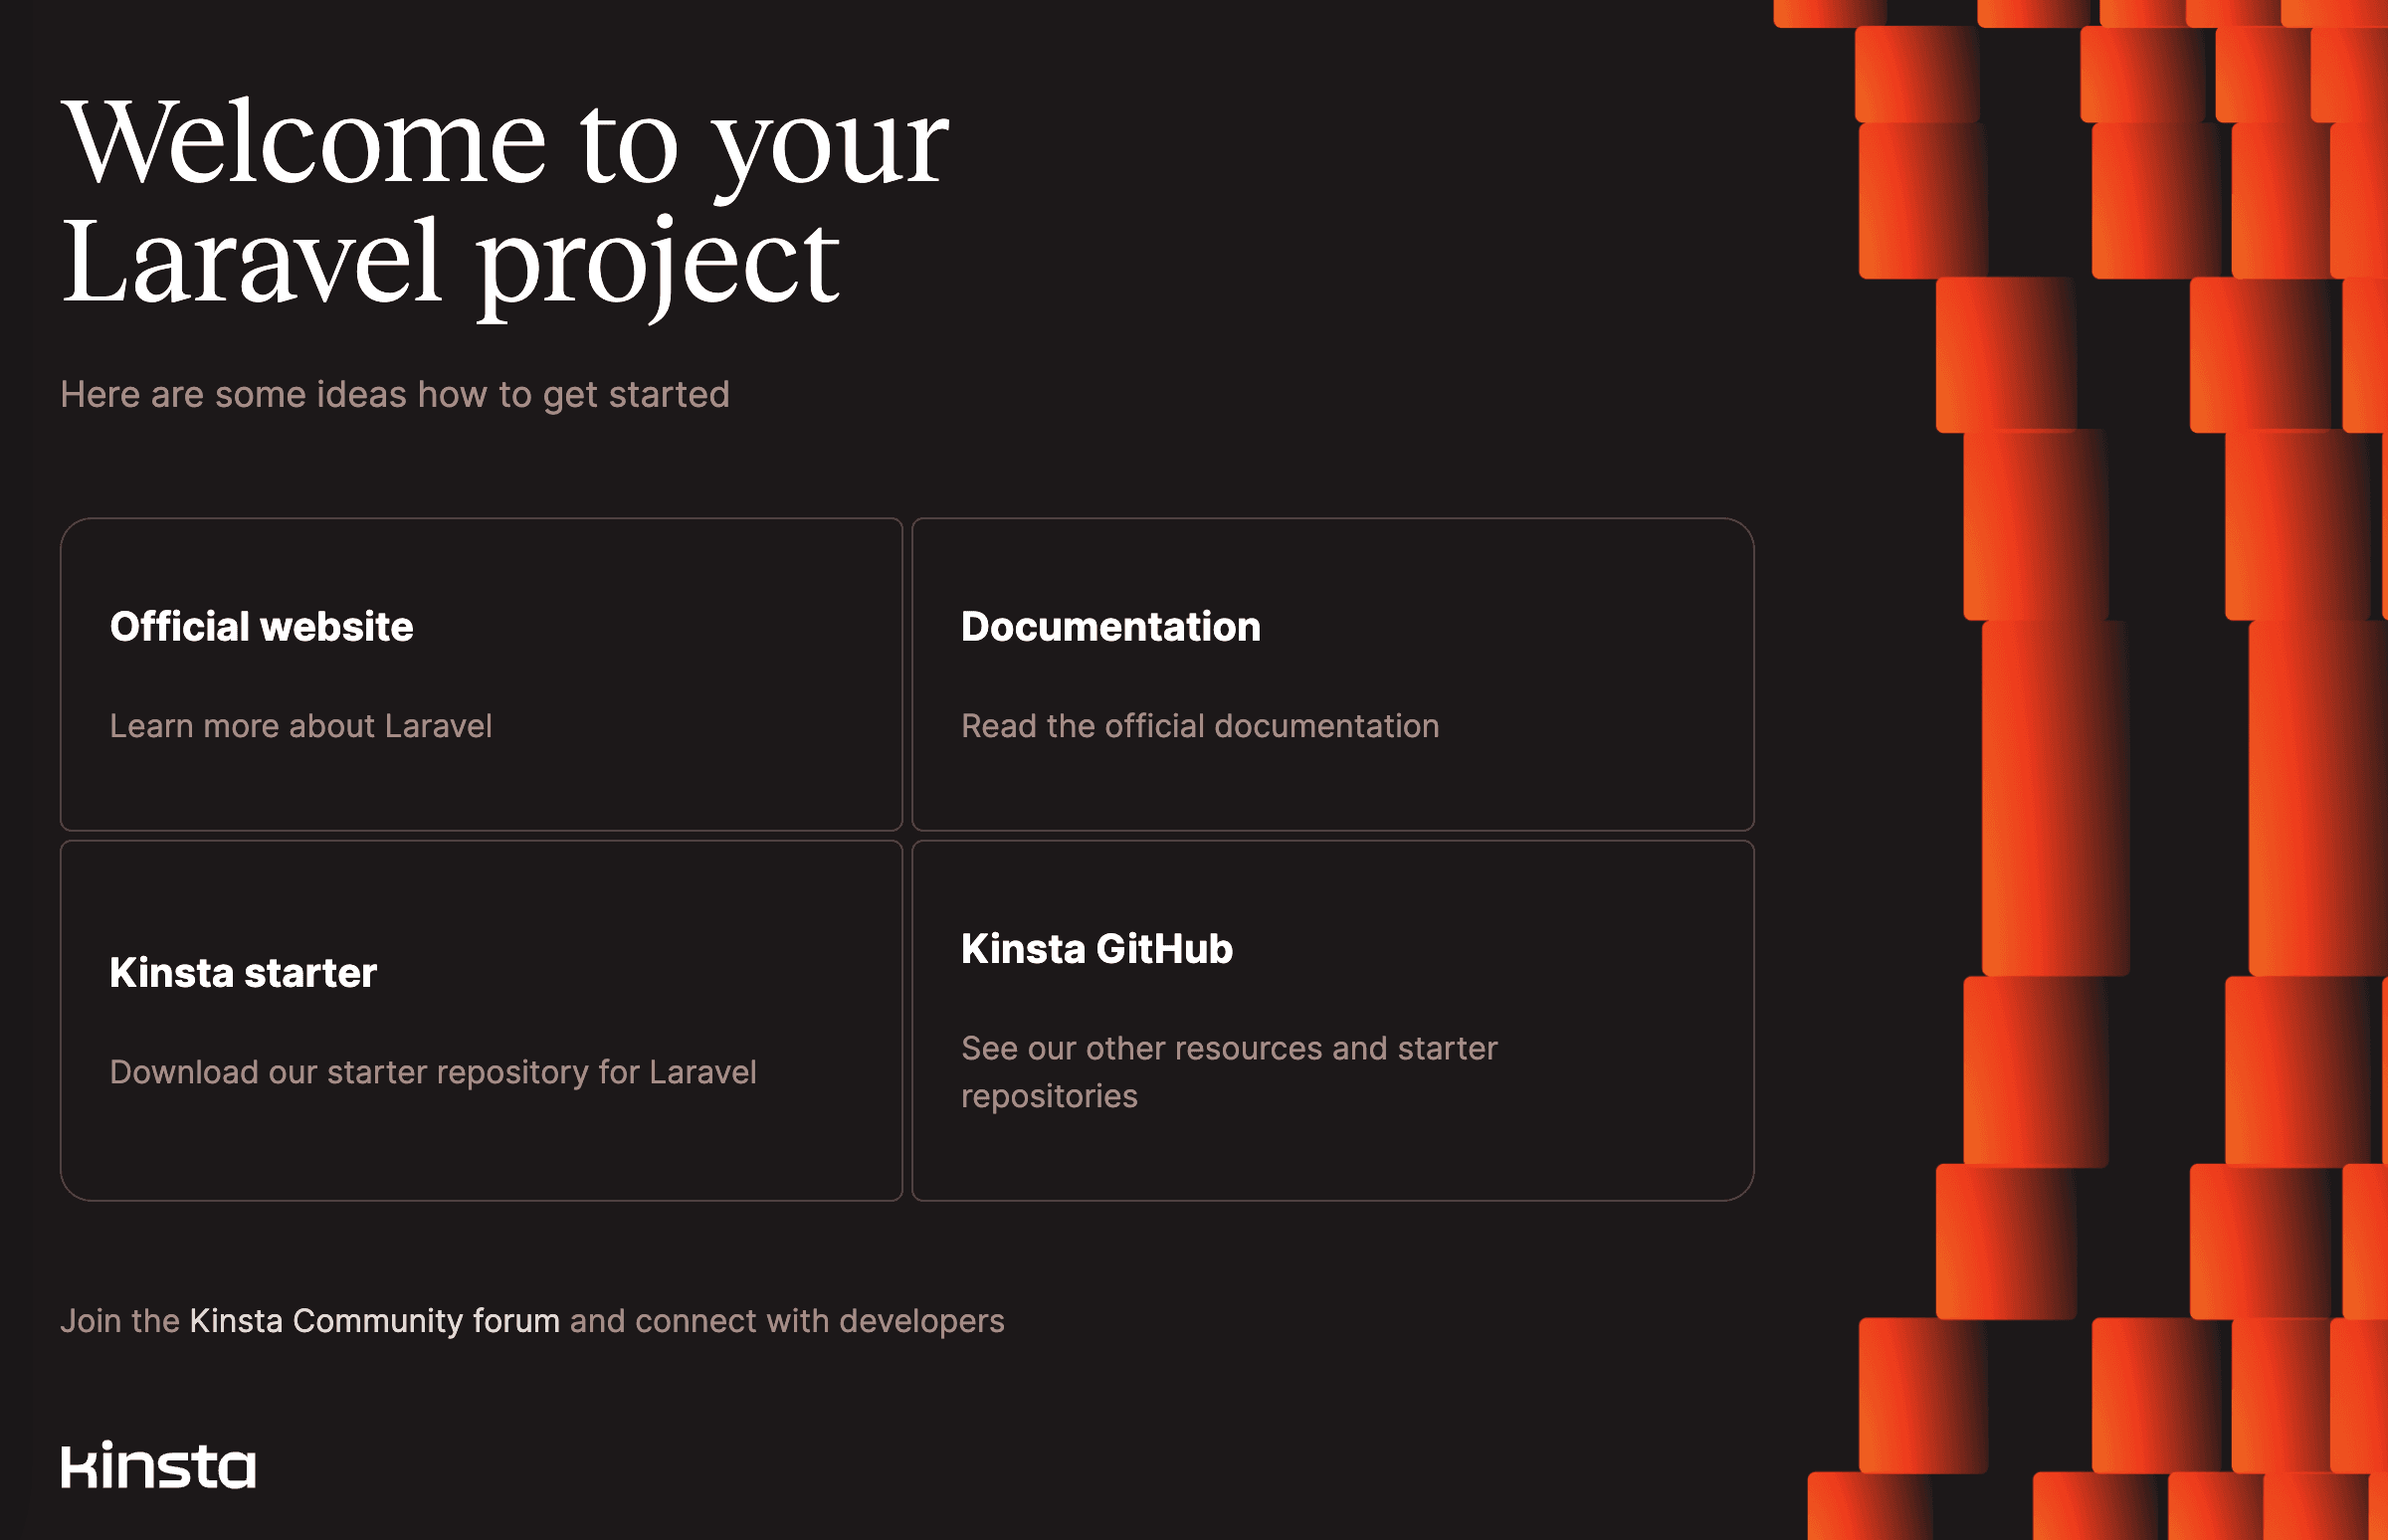
Laravel is a regular PHP-based application, so during deployment, Kinsta automatically detects the Start command for the web process and installs dependencies defined in your composer.json file. The app is available as soon as the deployment finishes, and a default Jigsaw page loads at your application’s URL.
Prefer to watch the video version?
Connect a database
If you want to connect your application to a database, start by creating a database in the same data center your application is in.
- Add a database.
- Connect the database to the application by adding an internal connection and selecting the Add environment variables… checkbox. This will automatically populate the environment variables from the database.
- Some of the variable names (keys) Laravel uses are different from the ones automatically created in MyKinsta. Edit the variable keys as needed to match the variable names defined in Laravel’s database.php file. Below are the corresponding variable names (keys) for the database types Laravel supports.
Environment variables
MySQL and PostgreSQL
| Automatically Generated Key | Laravel Key |
| DB_HOST | DB_HOST |
| DB_PORT | DB_PORT |
| DB_NAME | DB_DATABASE |
| DB_USER | DB_USERNAME |
| DB_PASSWORD | DB_PASSWORD |
| DB_CONNECTION_URL | DB_URL |
Redis
| Automatically Generated Key | Laravel Key |
| DB_HOST | REDIS_HOST |
| DB_PORT | REDIS_PORT |
| DB_NAME | REDIS_DB |
| DB_USER | REDIS_USERNAME |
| DB_PASSWORD | REDIS_PASSWORD |
| DB_CONNECTION_URL | REDIS_URL |
Laravel APP_KEY
Laravel requires the APP_KEY environment variable to be set. If this key is not set, you will see a 500 error page served by Laravel. You can generate an app key yourself locally, or you can use the online Laravel key generator. Once you have a key, you can add it as an environment variable.
Buildpacks
If you’re using buildpacks to build the application, you’ll need to add these two Buildpacks:
- Node.js
- PHP
The buildpack that contains the primary language of your application must be the last one in the buildpacks list. In this example, PHP is the primary language and should be the last buildpack in the list.
Web server setup
Start command
The default web process is heroku-php-apache2. This example includes an .htaccess file that reroutes all requests to public/index.php for Laravel. If needed, you can change this command when adding your application (Set up your processes) or on the application’s Processes page after deployment. You can use:
heroku-php-apache2 /publicor
php artisan serve --host 0.0.0.0 --port 8080Leaf
This is an example of how to set up a Leaf PHP application to deploy on Kinsta’s Application Hosting services from a GitHub repository.
Leaf is a slim and lightweight PHP framework focused on developer experience, usability, and high-performance code. More information is available on the Leaf PHP website.
- In MyKinsta, click Applications > Add application > select Git repository > Public repository, and complete as follows:
- Repository URL: https://github.com/kinsta/hello-world-leaf
- Branch: main
- Enter a Name, choose a Location, choose a pod size within Resources, and click Create & deploy.
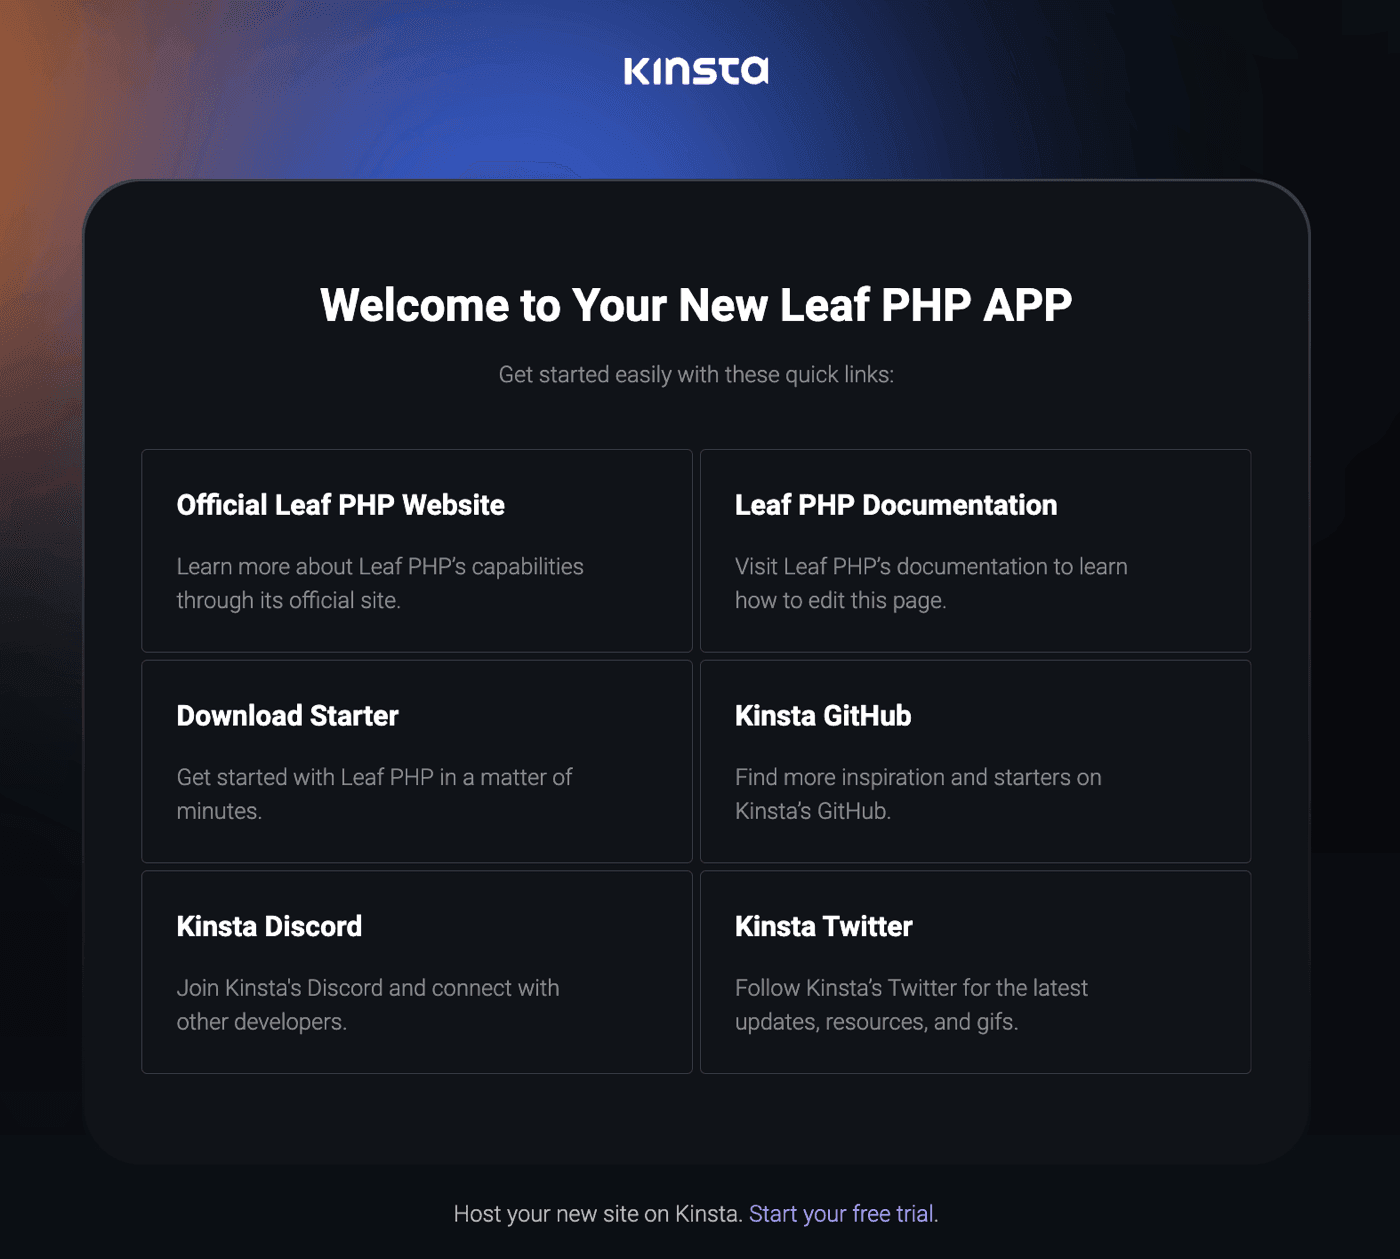
During deployment, Kinsta automatically detects the Start command for the web process and installs dependencies defined in your composer.json file. The app is available as soon as the deployment finishes, and the Kinsta Welcome page loads at your application’s URL.
Prefer to watch the video version?
Web server setup
Port
Kinsta automatically sets the PORT environment variable. You should not define it yourself, and you should not hard-code it into the application.
Start command
When deploying the application, Kinsta automatically creates a web process running heroku-php-apache2.
Deployment lifecycle
Whenever a deployment is initiated (through creating an application or redeploying due to an incoming commit), the composer install command is run.
Statamic
This is an example of how to set up a Statamic application to deploy on Kinsta’s Application Hosting services from a GitHub repository.
Statamic is a flat-file CMS that, by default, stores all the data in the Git repository. Before you push the code to MyKinsta, installing Statamic locally is the recommended approach for creating and maintaining your site. Next, create a super user account, and then commit and push all the changes to the repository.
- Statamic is based on Laravel, so the
APP_KEYenvironment variable must be set. You can generate an app key yourself locally, or you can use this online Laravel key generator. - In MyKinsta, click Applications > Add application > select Git repository > Public repository, and complete as follows:
- Repository URL: https://github.com/kinsta/hello-world-statamic
- Branch: main
- Enter a Name, choose a Location, choose a pod size within Resources, and click Create.
- Once the application is created, click Environment variables > Add environment variable and add the following:
- In Key 1, enter
APP_KEY, and in Value 1, paste the key generated from Step 1. - Click Add another, and in Key 2, enter
APP_KINSTA, and in Value 2, entertrue. - Select Available during runtime and Available during build process.
- In Key 1, enter
- Click Deployments > Deploy now > Deploy application.
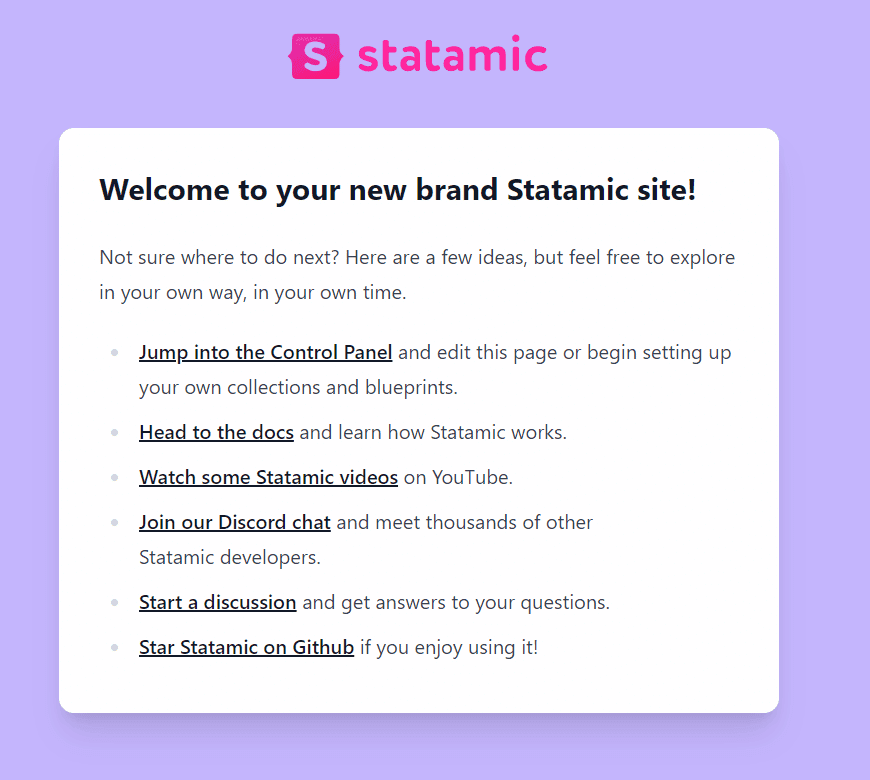
Statamic is based on Laravel; it’s a regular PHP-based application, so during deployment, Kinsta automatically detects the Start command for the web process and installs dependencies defined in your composer.json file. The app is available as soon as the deployment finishes, and the Statamic Welcome page loads at your application’s URL.
Prefer to watch the video version?
Environment variables
Statamic requires the following environment variables to be set:
APP_KEY– You can generate an app key yourself locally, or you can use the online Laravel key generator.APP_KINSTA– set totrue.
Buildpacks
If you’re using Buildpacks to build the application you’ll need to add these two Buildpacks:
- Node.js
- PHP
The buildpack that contains the primary language of your application must be the last one in the buildpacks list. In this example, PHP is the primary language and should be the last buildpack in the list.
Web server setup
Start command
The default web process is heroku-php-apache2 public/. If needed, you can change this command when adding your application (Set up your processes) or on the application’s Processes page after deployment.
PHP to send emails
This is an example of how to set up a PHP application to send emails via SendGrid on Kinsta’s Application Hosting services, deployed from a GitHub repository.
Kinsta does not natively support outbound emails from servers. Sending emails through specialized outbound providers such as SendGrid or Mailchimp offers more flexibility and higher success rates for transactional and campaign emails.
- In MyKinsta, click Applications > Add application > select Git repository > Public repository, and complete as follows:
- Repository URL: https://github.com/kinsta/hello-world-email-php
- Branch: main
- Enter a Name, choose a Location, choose a pod size within Resources, and click Create.
- Once the application is created, click Environment variables > Add environment variable, and add the following:
SENDGRID_API_KEY: The API key from SendGrid.TEST_EMAIL_TO_ADDRESS: The address to send the test email to.TEST_EMAIL_FROM_ADDRESS: The address to send the test email from.TEST_ENDPOINT: The endpoint to use as a trigger to send the test email. Please use a random string of at least 8 characters.
- Click Deployments > Deploy now > Deploy application.
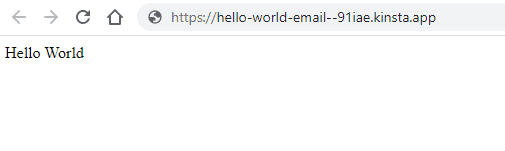
The app is available as soon as the deployment finishes, and a Hello World page loads at your application’s URL.
Trigger an email
Through a very simple index.php entrypoint, two endpoints are exposed; all others will return a 404:
/: A simple page that returns the Hello World message/${TEST_ENDPOINT}: A page that triggers a test email.
To trigger an email, find the URL of your deployment on the Deployments page, append your test endpoint to this URL, and visit the page. For example, if your TEST_ENDPOINT is set to o34nifnodhni4of and your latest deployment is at https://example.kinsta.app, you can trigger a test email from https://example.kinsta.app/o34nifnodhni4of in your browser.