GitHub
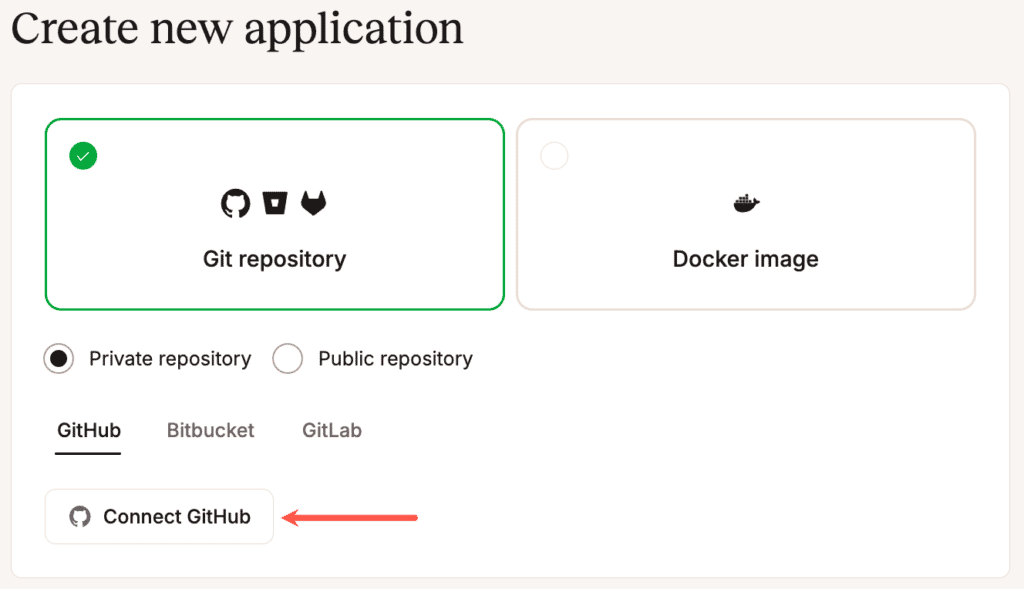
When adding an application, if you’re using a private Git repository, you must select a Git provider and repository from your account. In addition to GitHub, you can also choose from Bitbucket or GitLab.
If you have a repository at another Git provider, you can import that repository into GitHub so you can connect it to your application hosted at Kinsta.
Authenticate and authorize
The first time you add an application in MyKinsta, you’ll need to connect to a Git provider so that Kinsta can access your application’s repository. When you click Add application, you must choose your Git provider and connect Kinsta to your account.
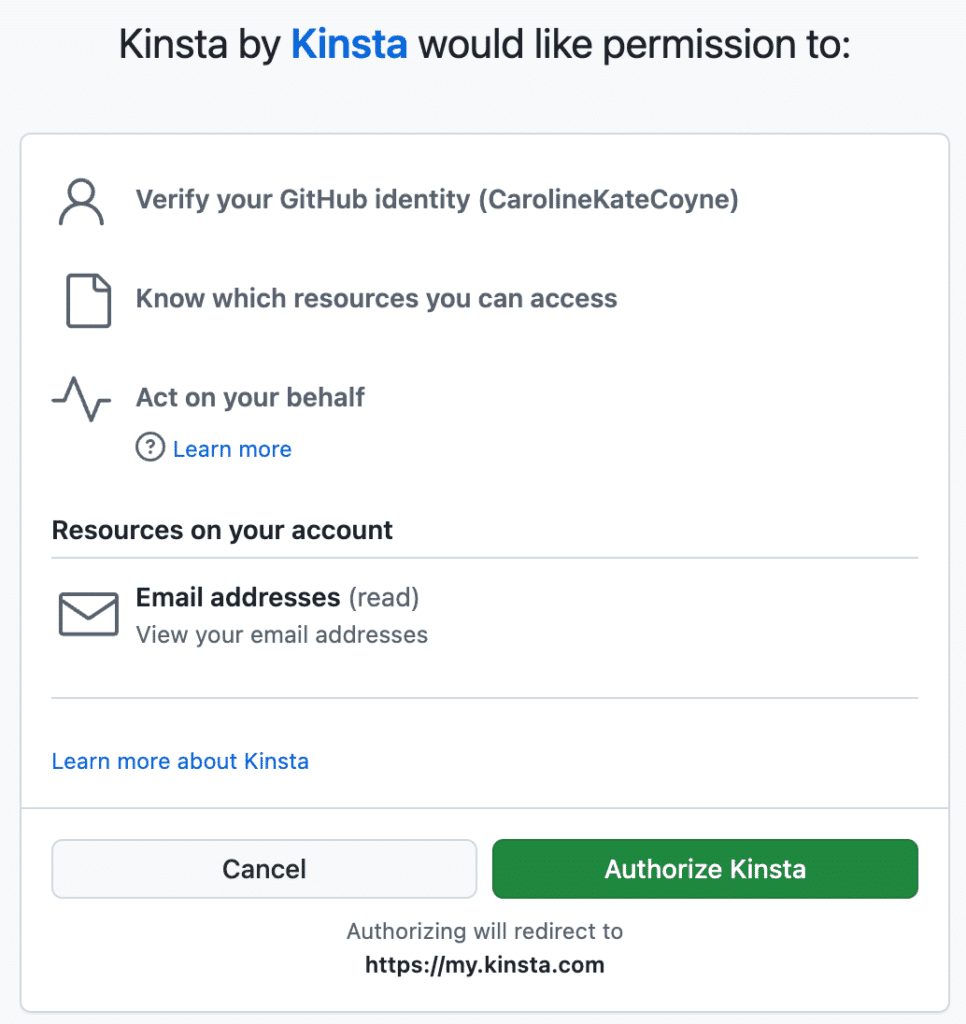
If you aren’t currently logged in to GitHub, you’ll need to log in. On the next page, you’ll need to authenticate so you can authorize access. The last step is to authorize the Kinsta GitHub application for access to your GitHub account.
Go back to MyKinsta, where you can begin adding your application and installing the Kinsta GitHub application to your repository.
Edit GitHub permissions
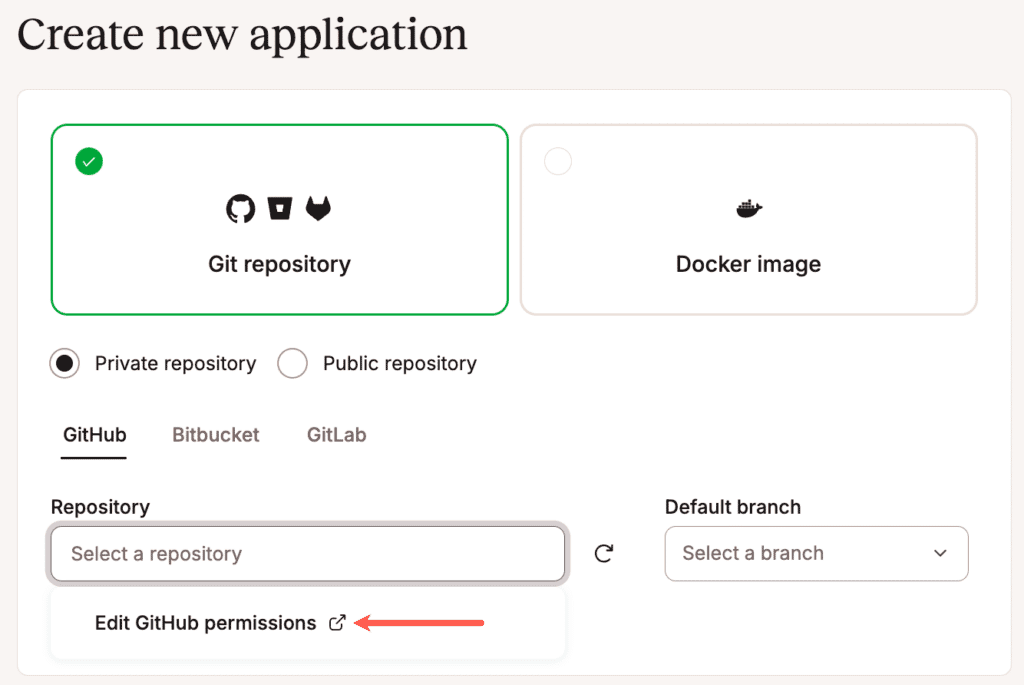
In the Add application modal/pop-up, click the GitHub repository field and select Edit GitHub permissions in the dropdown.
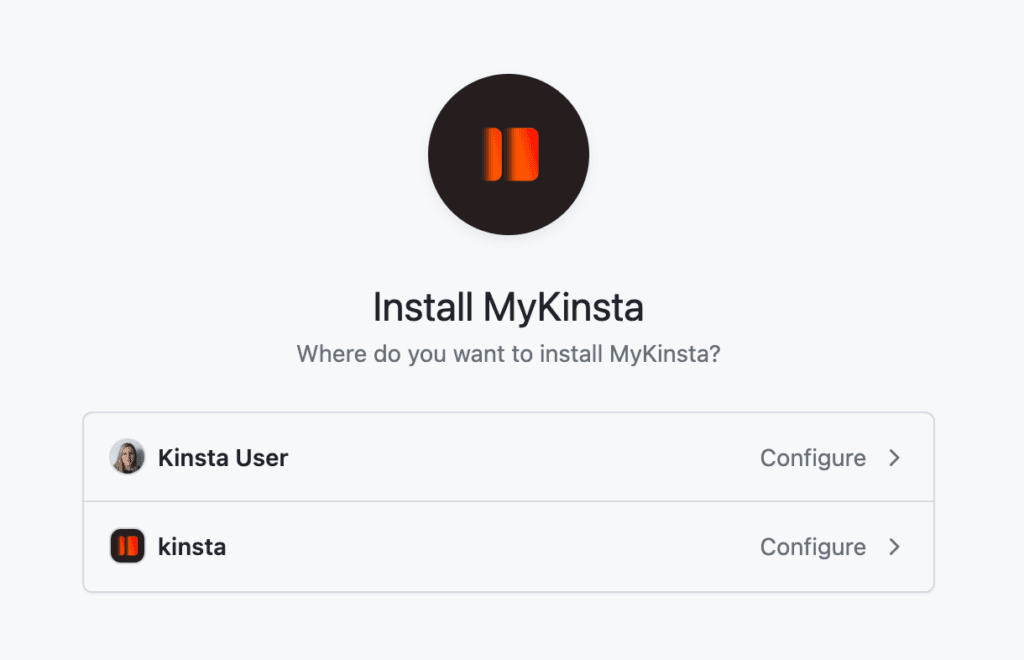
This initiates the installation of the Kinsta GitHub application to your GitHub Account. If you have access to multiple accounts, choose the correct account to install it on.
You can specify exactly what this application has access to on the next screen. We aim to have as little access as possible to your data, so we recommend not giving the application access to all repositories. Click Only select repositories, and choose the repository you would like to deploy.
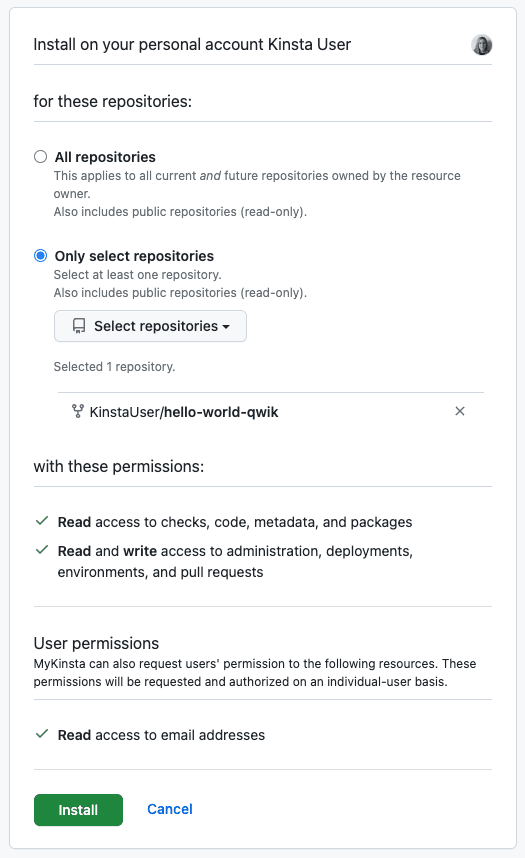
Finally, click Save, and you’re good to go. When you go back to MyKinsta and click the GitHub repository field, you should see the authorized repository now available.
Remove Kinsta access to GitHub
You can remove Kinsta’s access to your GitHub account either through MyKinsta or GitHub.
Remove access via MyKinsta
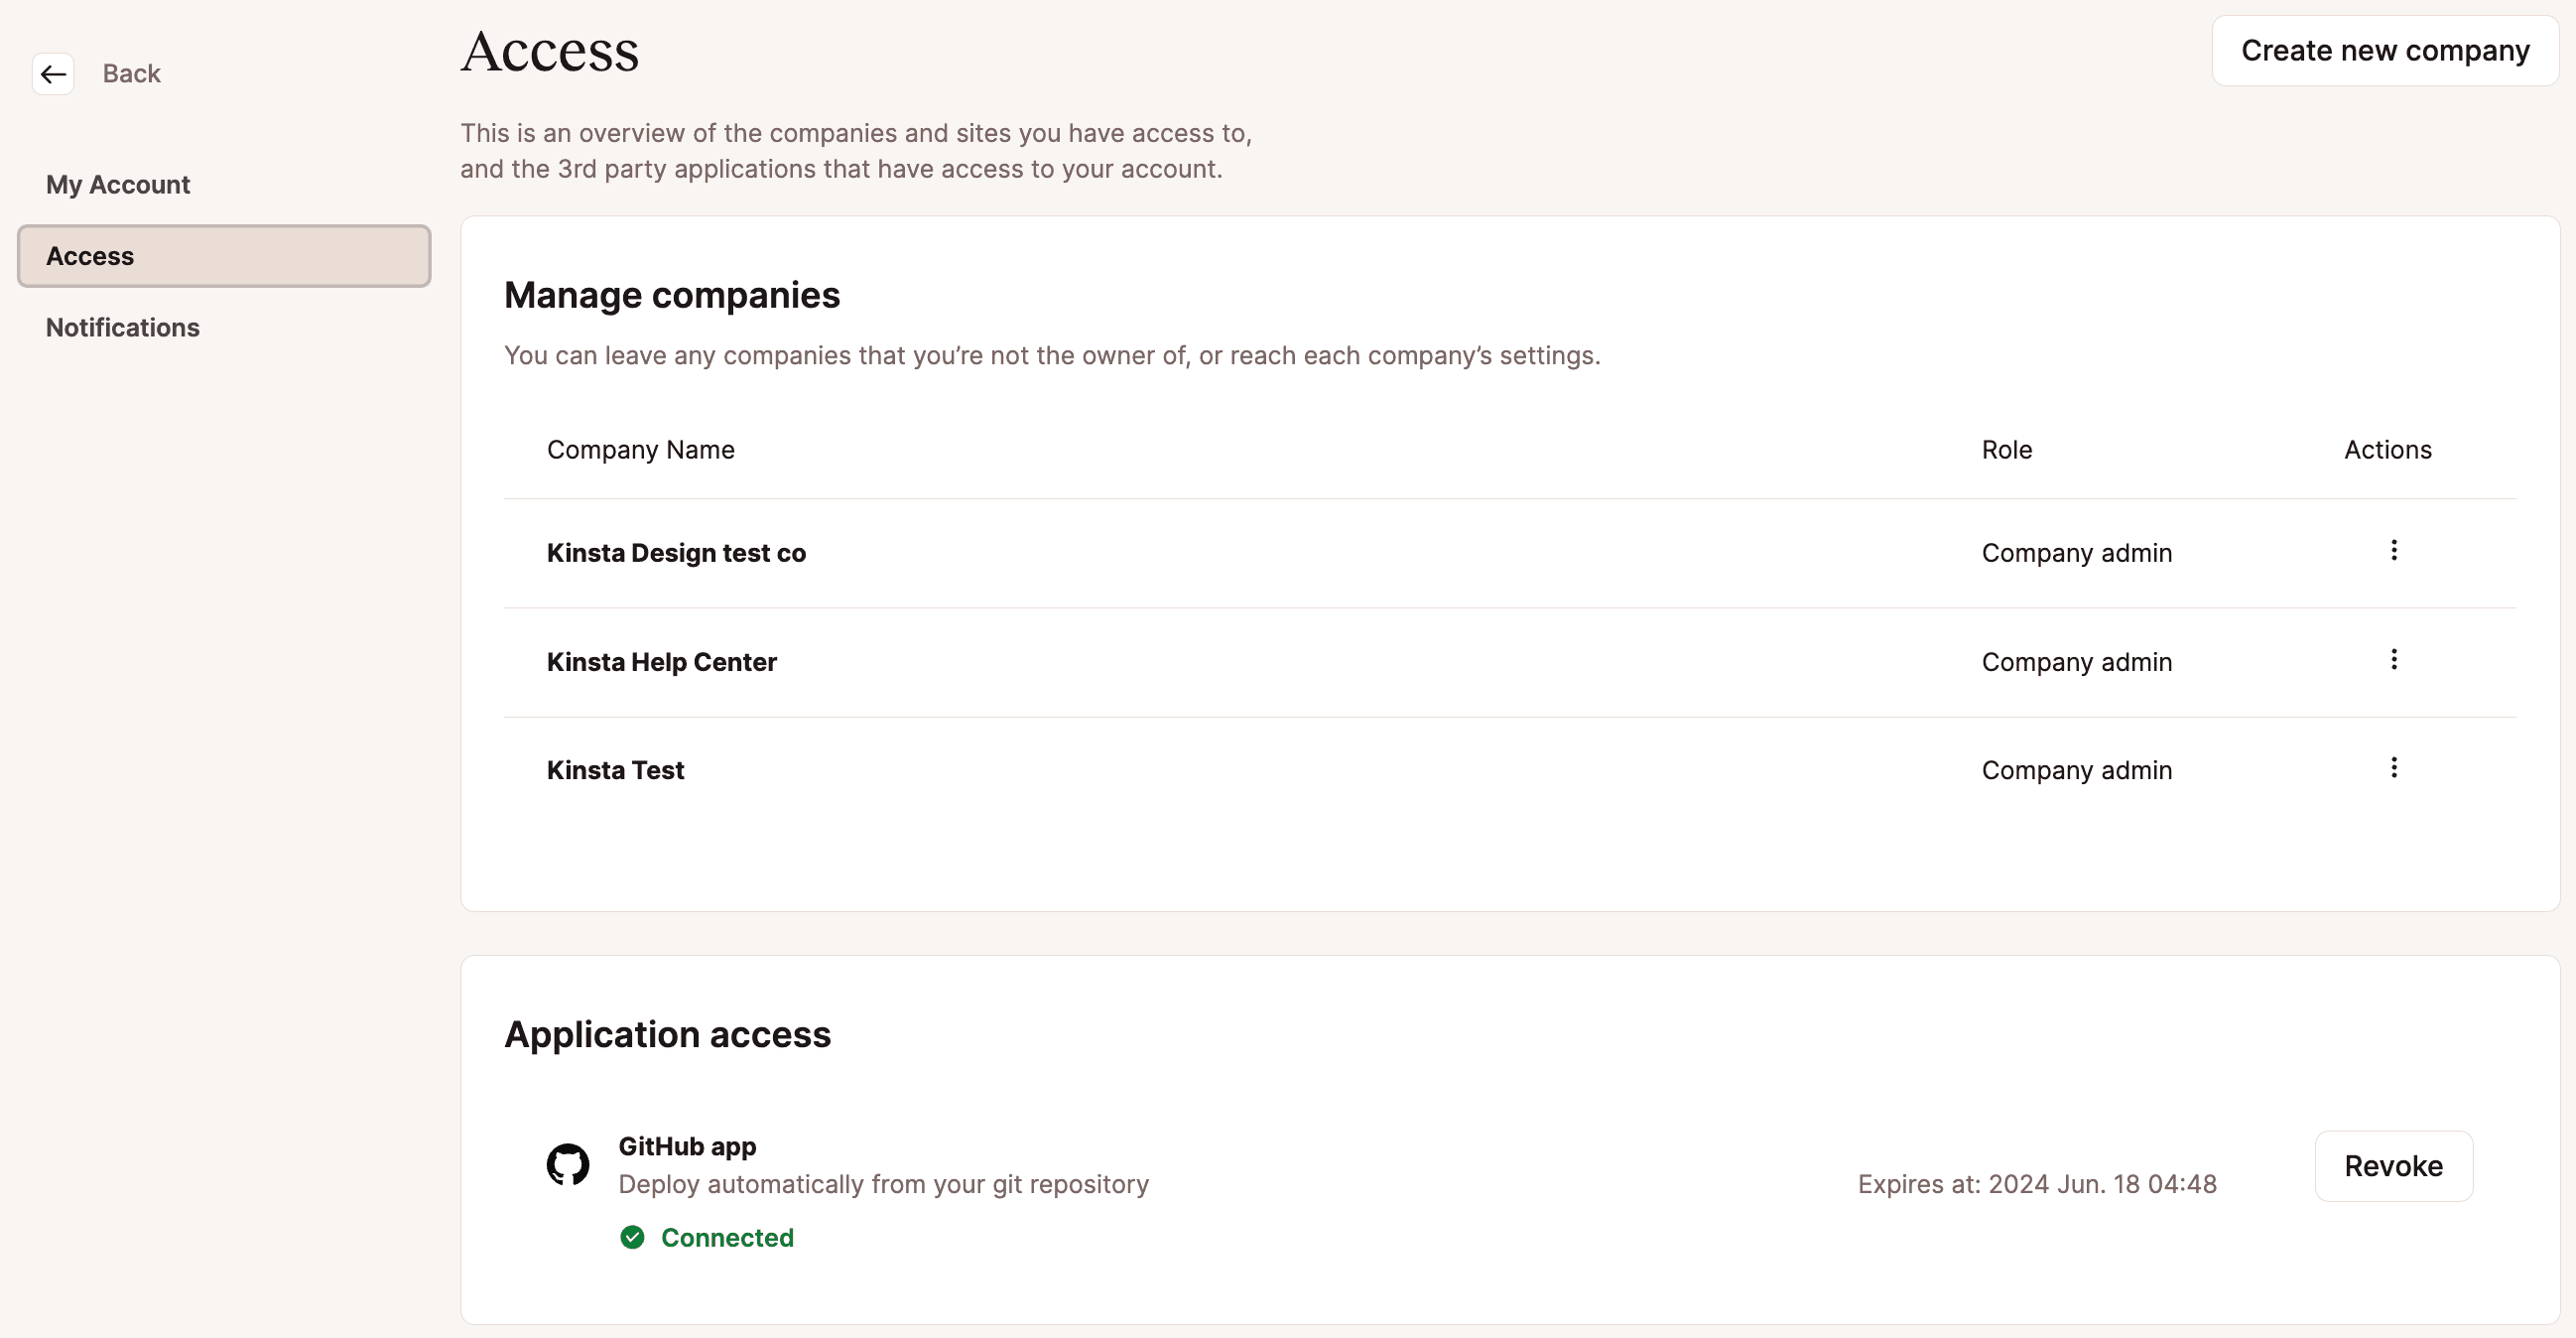
In MyKinsta, click on your username and go to User settings > Access. In Application access, click Revoke for the GitHub application.
Remove access via GitHub
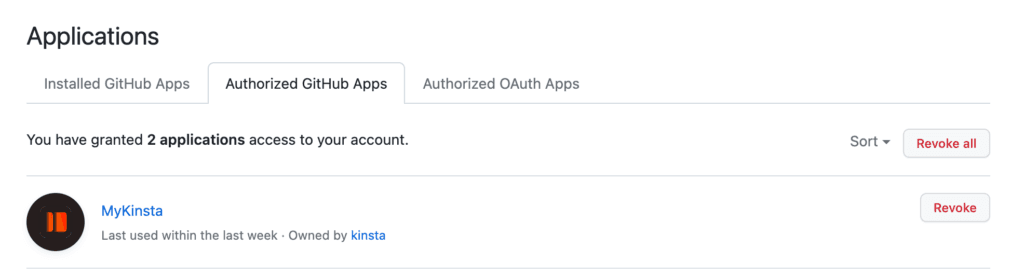
In GitHub, click on your user avatar and go to Settings > Applications > Authorized GitHub Apps. Click Revoke for the MyKinsta GitHub application.
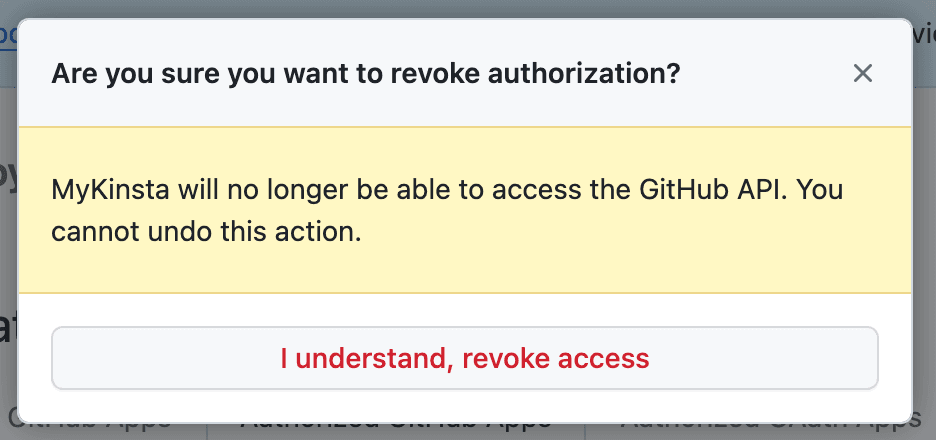
In the confirmation modal/pop-up, click I understand, revoke access.
If you try to add a new application in MyKinsta, you must authenticate and authorize the Kinsta GitHub application to reconnect it to your GitHub account.
Import a repository to GitHub
- In GitHub, click The plus sign (+) in the upper right corner and select Import a repository.
- Copy the repository URL from your other Git provider and paste it into Your old repository’s clone URL in GitHub.
- If you are a member of an Organization in GitHub, choose an Owner for your new repository.
- Enter your Repository name.
- Choose a privacy setting for the new repository and click Begin import.
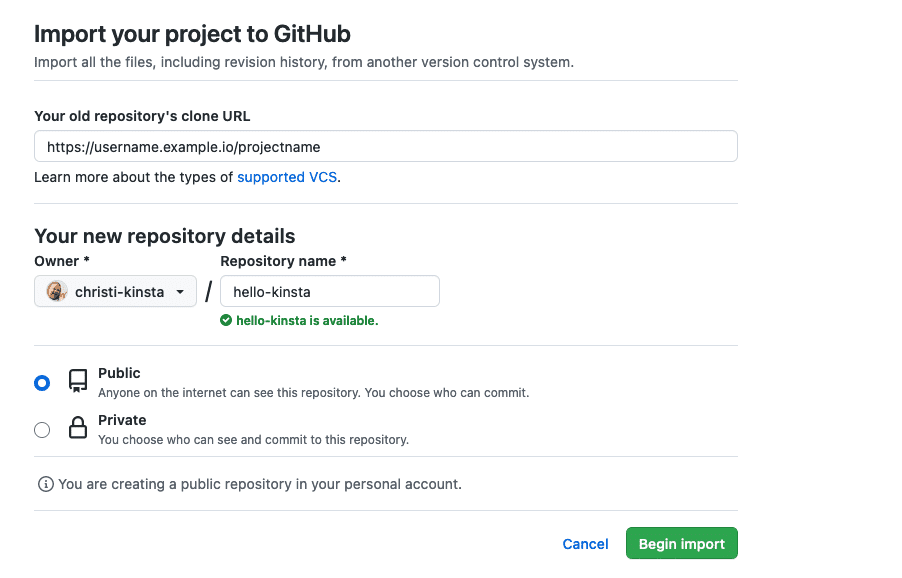
Import repository to GitHub. - If the repository at the other Git provider is private, enter your Username/Login and Password when prompted and click Submit.
Troubleshooting
Missing repositories
If you’re having trouble seeing your repositories in the Add application modal/pop-up, you may need to re-authenticate and authorize the Kinsta GitHub application. To do that, start by removing access between Kinsta and GitHub as described above.
In MyKinsta, in the Add application modal/pop-up (Add service > Add application), go through the authenticate and authorize steps to connect Kinsta to your GitHub account again.
Conflicting namespaces
The Conflicting namespaces error appears when a Git account is connected to another MyKinsta user account. Your Git account can only be linked to one MyKinsta account; if you have multiple MyKinsta accounts, you must use multiple Git accounts.
To resolve this error, you must log in to your other MyKinsta account and remove Kinsta access to GitHub.