JavaScript Frameworks
To use our example repositories, you must create a MyKinsta account. The following are examples of how to set up applications using JavaScript frameworks to deploy on Kinsta’s Application Hosting services from a GitHub repository. This includes:
We also have examples of Node.js applications.
Astro SSR
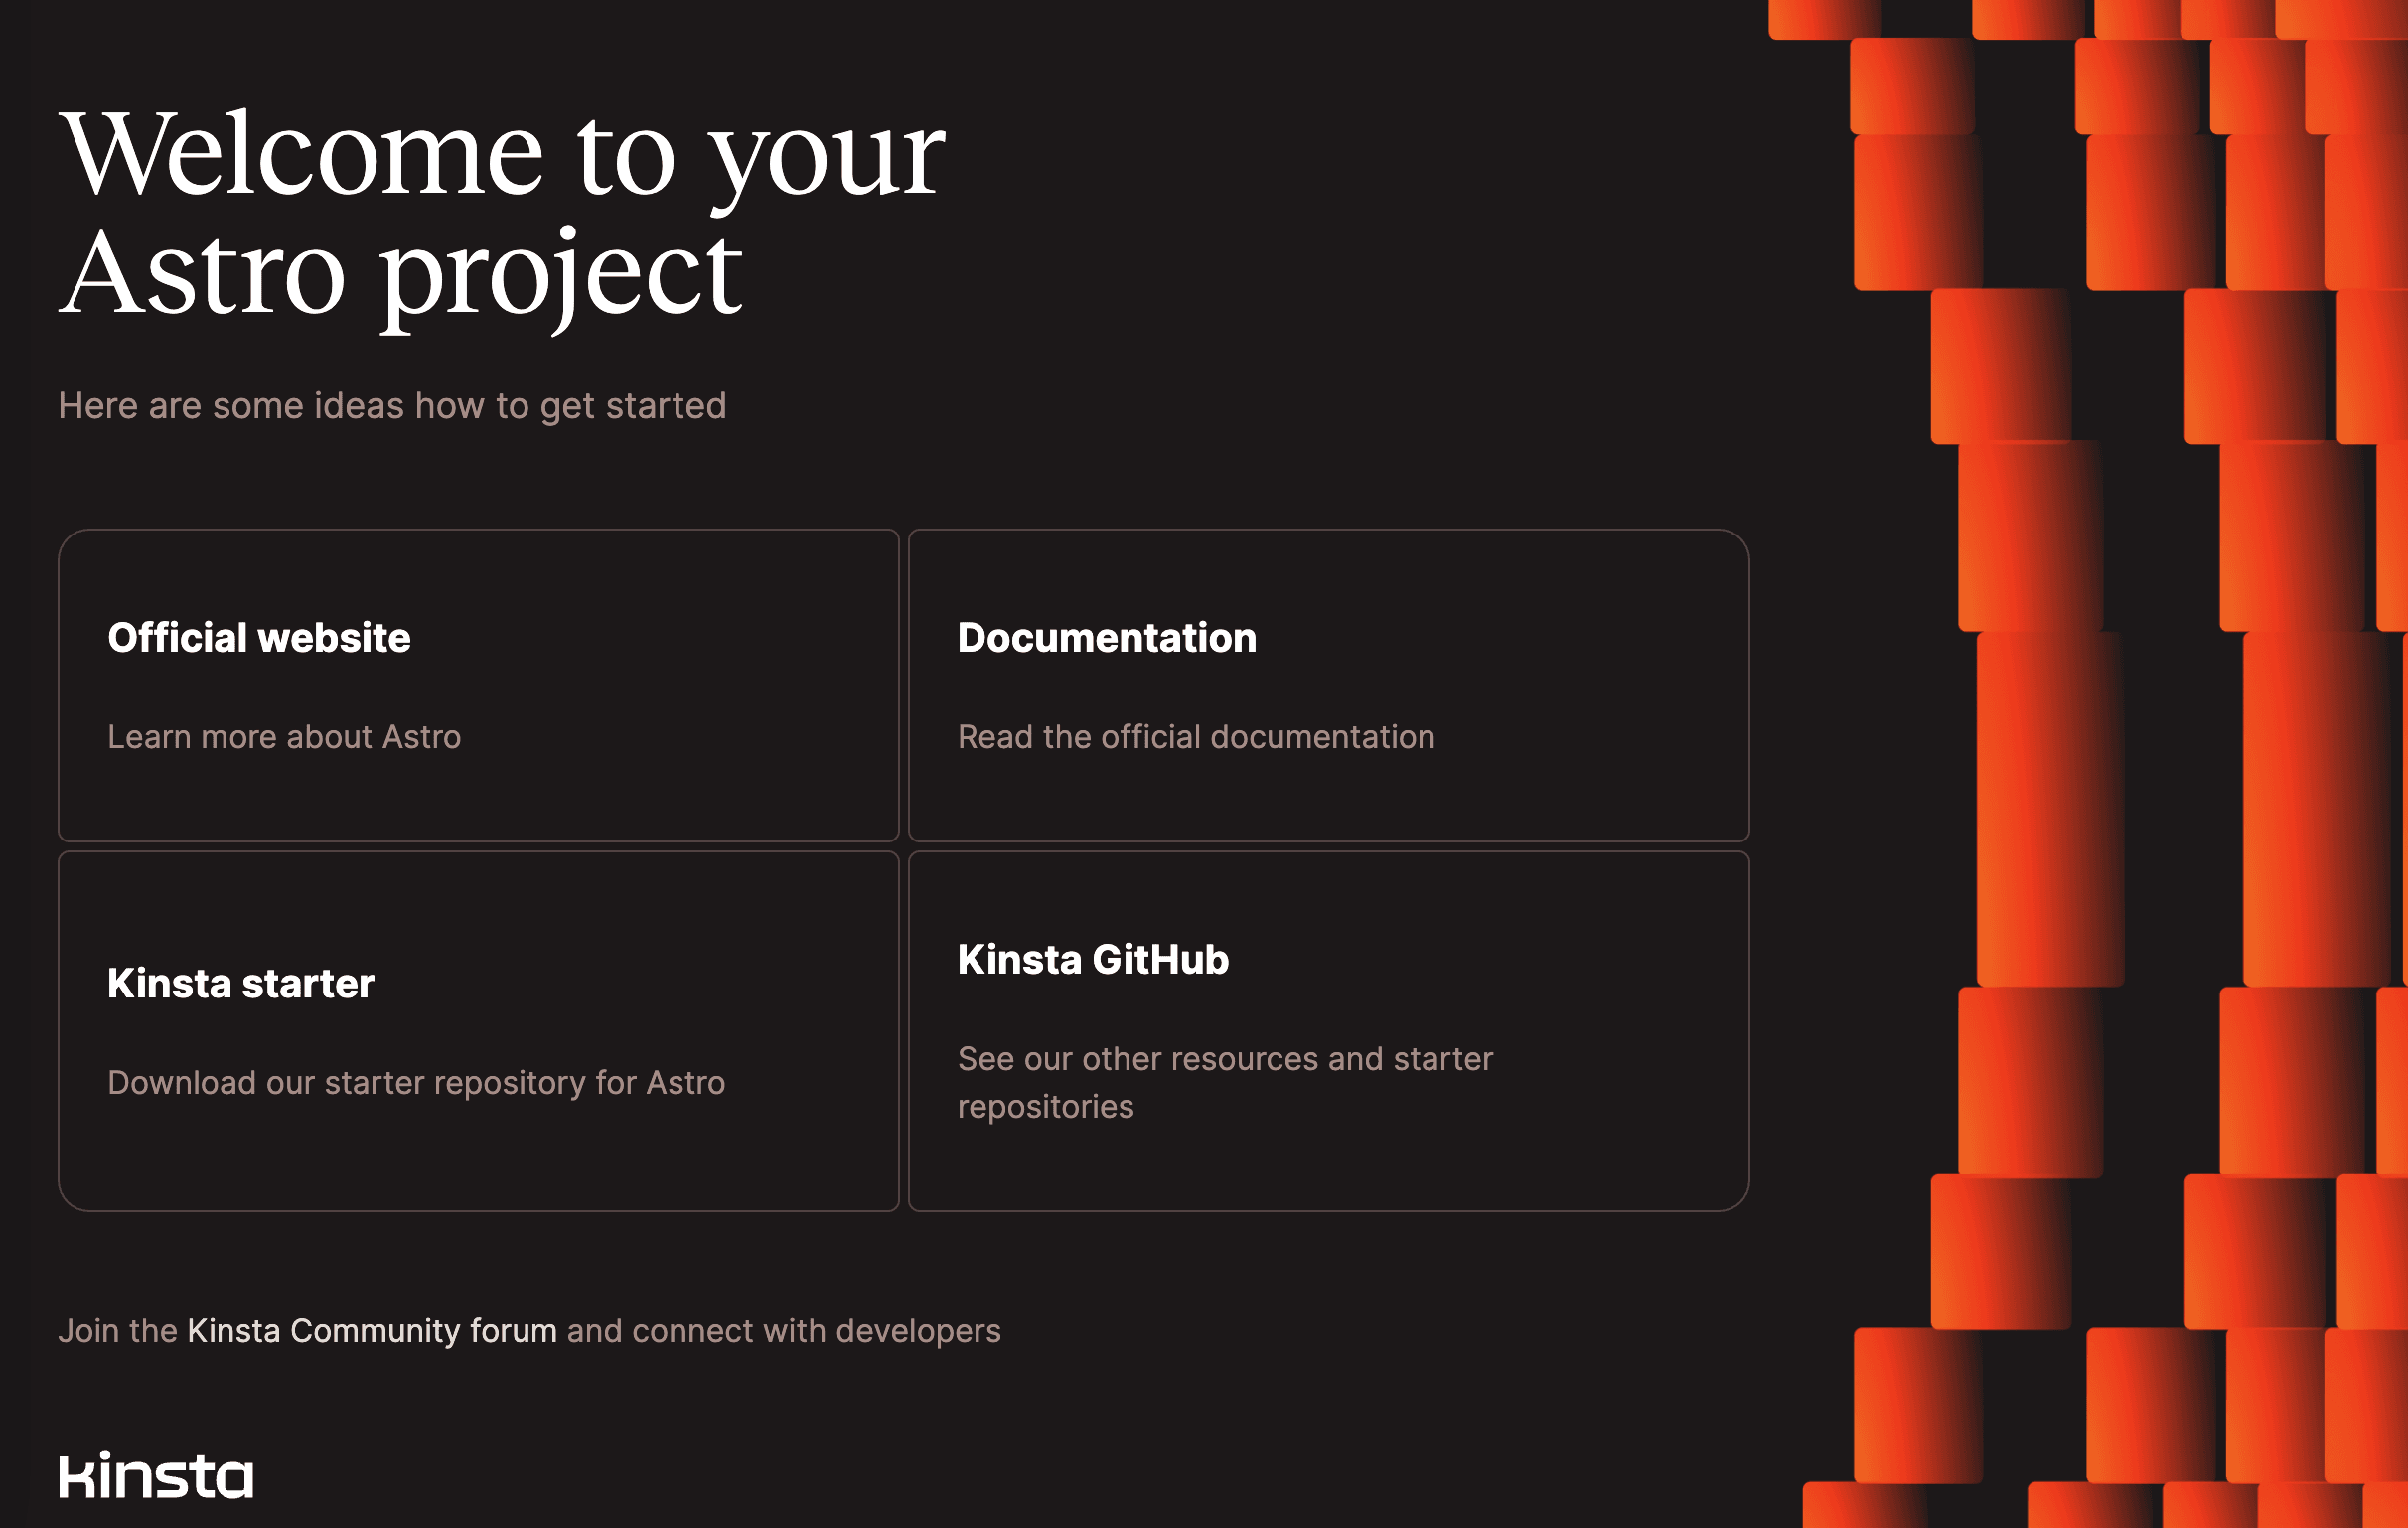
This is an example of how to set up an Astro site with server-side rendering (SSR) on Kinsta’s Application Hosting services from a GitHub repository.
By default, Astro is a static site builder focusing on content-rich websites to deliver faster load times with less JavaScript. Enabling SSR in Astro makes it possible to add dynamic features like sessions for login, connecting with a database, and more to your site. More information is available on the Astro website.
- In MyKinsta, click Applications > Add application > select Git repository > Public repository, and complete as follows:
- Repository URL: https://github.com/kinsta/hello-world-astro-ssr
- Branch: main
- Enter a Name, choose a Location, choose a pod size within Resources, and click Create & deploy.
During deployment, Kinsta automatically detects the Start command for the web process and installs dependencies defined in your package.json file. The app is available as soon as the deployment finishes, and the Kinsta Welcome page loads at your application’s URL.
Prefer to watch the video version?
Web server setup
Port
Kinsta automatically sets the PORT environment variable. You should not define it yourself or hard-code it into the application.
Start command
When you deploy the application, Kinsta automatically creates a web process with npm start as the Start command. Make sure to use this command to run your server.
Deployment lifecycle
Whenever a deployment is initiated (through creating an application or re-deploying due to an incoming commit), the npm build command is run, followed by the npm start command.
Deno
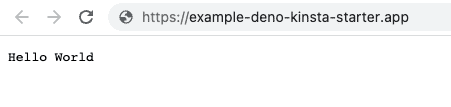
This is an example of how to set up a Deno application to deploy on Kinsta’s Application Hosting services from a GitHub repository.
Deno is a JavaScript, TypeScript, and WebAssembly runtime that allows you to run code outside of a web browser that allows you to build secure server-side applications. More information is available on the Deno website.
- In MyKinsta, click Applications > Add application > select Git repository > Public repository, and complete as follows:
- Repository URL: https://github.com/kinsta/hello-world-deno
- Branch: main
- Enter a Name, choose a Location, choose a pod size within Resources, and click Create & deploy.
During deployment, Kinsta automatically detects the Start command for the web process and installs dependencies defined in your package.json file. The app is available as soon as the deployment finishes, and a Hello World page loads at your application’s URL.
Web server setup
Port
Kinsta automatically sets the PORT environment variable. You do not need to define it or hard-code it into the application.
Start command
When you deploy the application, Kinsta automatically creates a web process with npm start as the Start command.
Deployment lifecycle
Whenever a deployment is initiated (through creating an application or re-deploying due to an incoming commit), the npm build command is run, followed by the npm start command.
Next.js with Prisma ORM
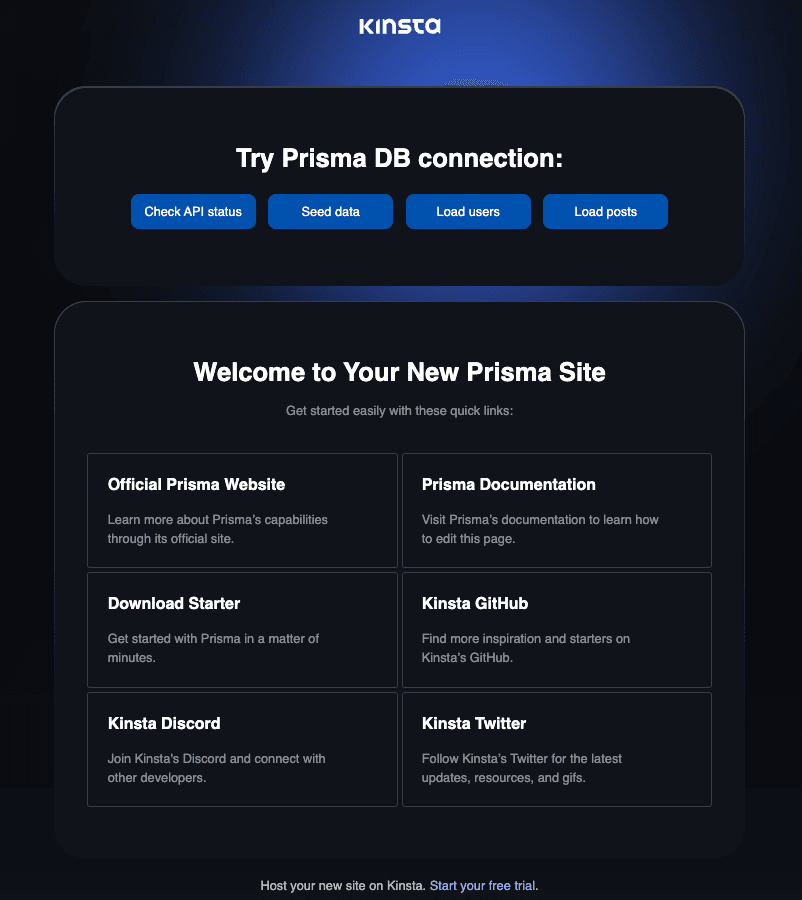
This is an example of how to set up a Next.js and Prisma application to deploy on Kinsta’s Application Hosting and Database Hosting services from a GitHub repository.
Prisma is an open-source database toolkit that simplifies database access for developers by providing a type-safe and intuitive API. It supports multiple databases and generates efficient, optimized SQL queries for faster performance. More information is available on the prisma.io website.
This application requires a PostgreSQL database to work.
- In MyKinsta, click Databases > Add database > enter a name > in Type select PostgreSQL, choose a Data center location and Size, and click Continue > Create database.
- In MyKinsta, click Applications > Add application > select Git repository > Public repository, and complete as follows:
- Repository URL: https://github.com/kinsta/hello-world-prisma
- Branch: main
- Enter a Name, choose a Location, choose a pod size within Resources, and click Create.
- Once the database is ready for connections (a green check mark is shown next to it), you must add the internal connection between your application and database. Click Applications > application name > Networking > Connected services > Add connection.
- Select your database > select Add environment variables to the application > click Add connection.
- Go to the application’s Deployments page and click Deploy now > Deploy application.
During deployment, Kinsta automatically detects the Start command for the web process and installs dependencies defined in your package.json file. The app is available as soon as the deployment finishes, and the Kinsta Welcome page loads at your application’s URL.
Web server setup
Port
Kinsta automatically sets the PORT environment variable. You should not define it yourself, and you should not hard-code it into the application.
Start command
Kinsta automatically creates a web process when deploying an application with npm start as the Start command. Make sure to use this command to run your server.
Deployment lifecycle
Whenever a deployment is initiated (through creating an application or redeploying due to an incoming commit), the npm build command is run, followed by the npm start command.
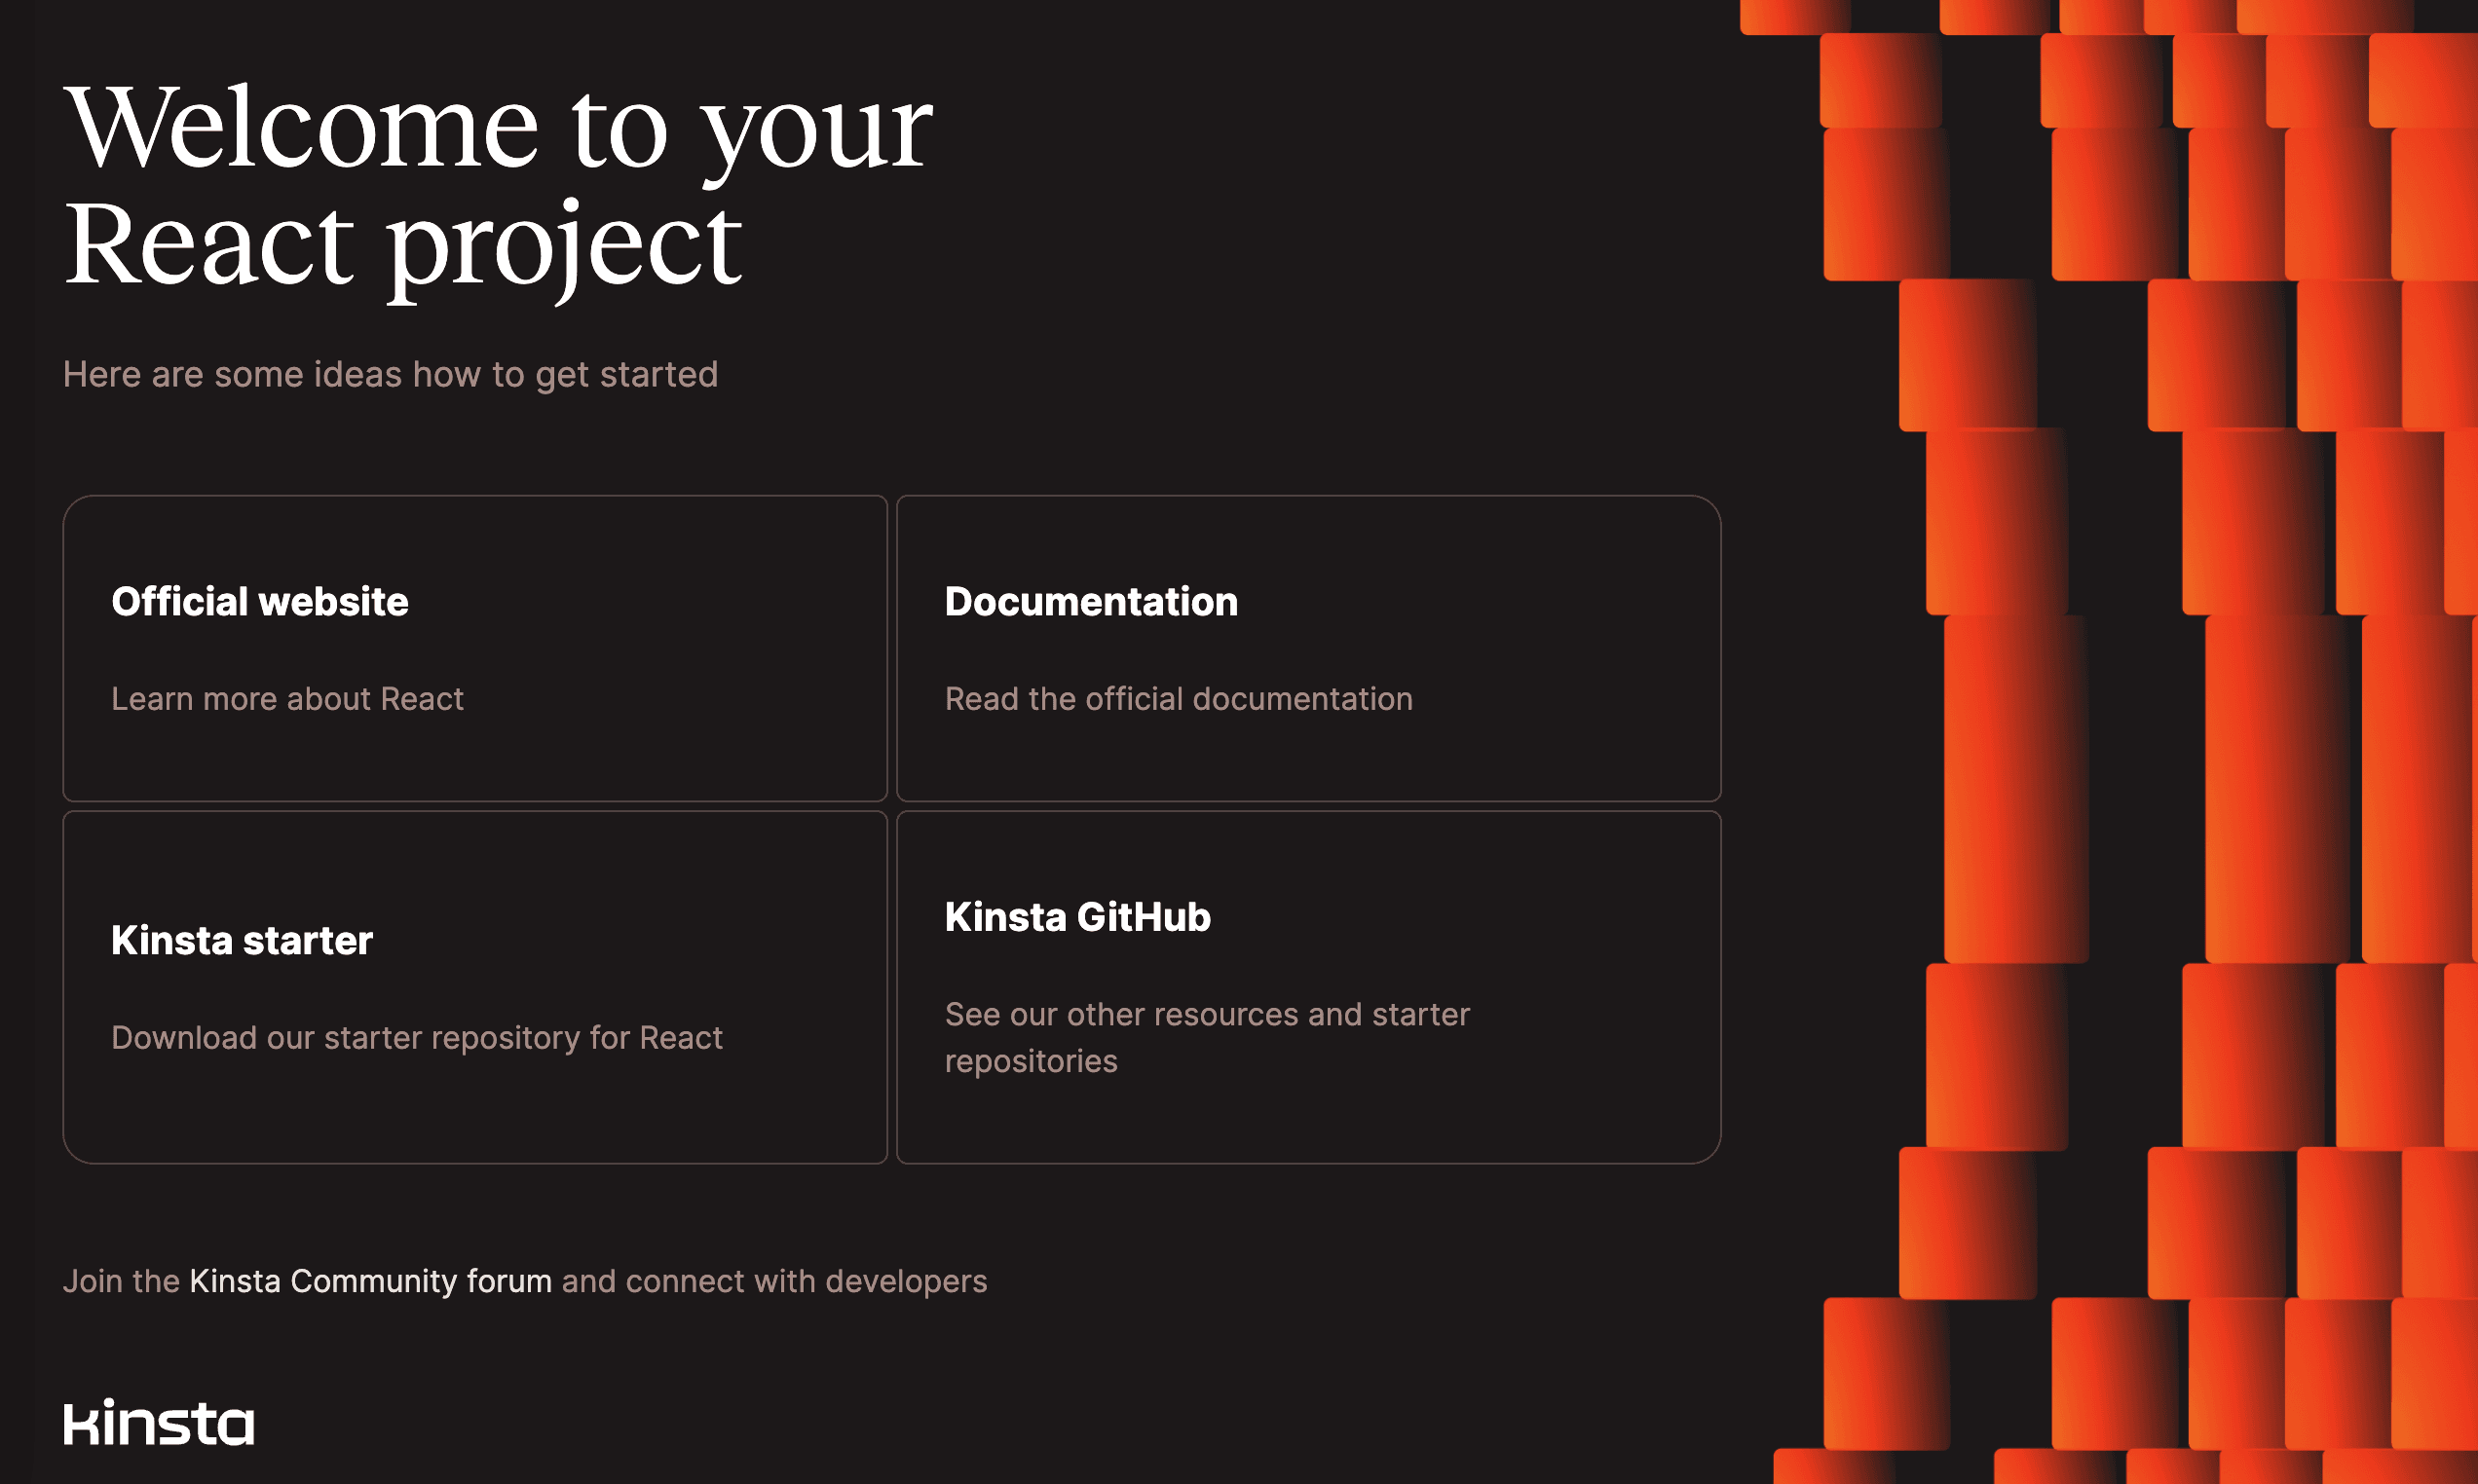
React
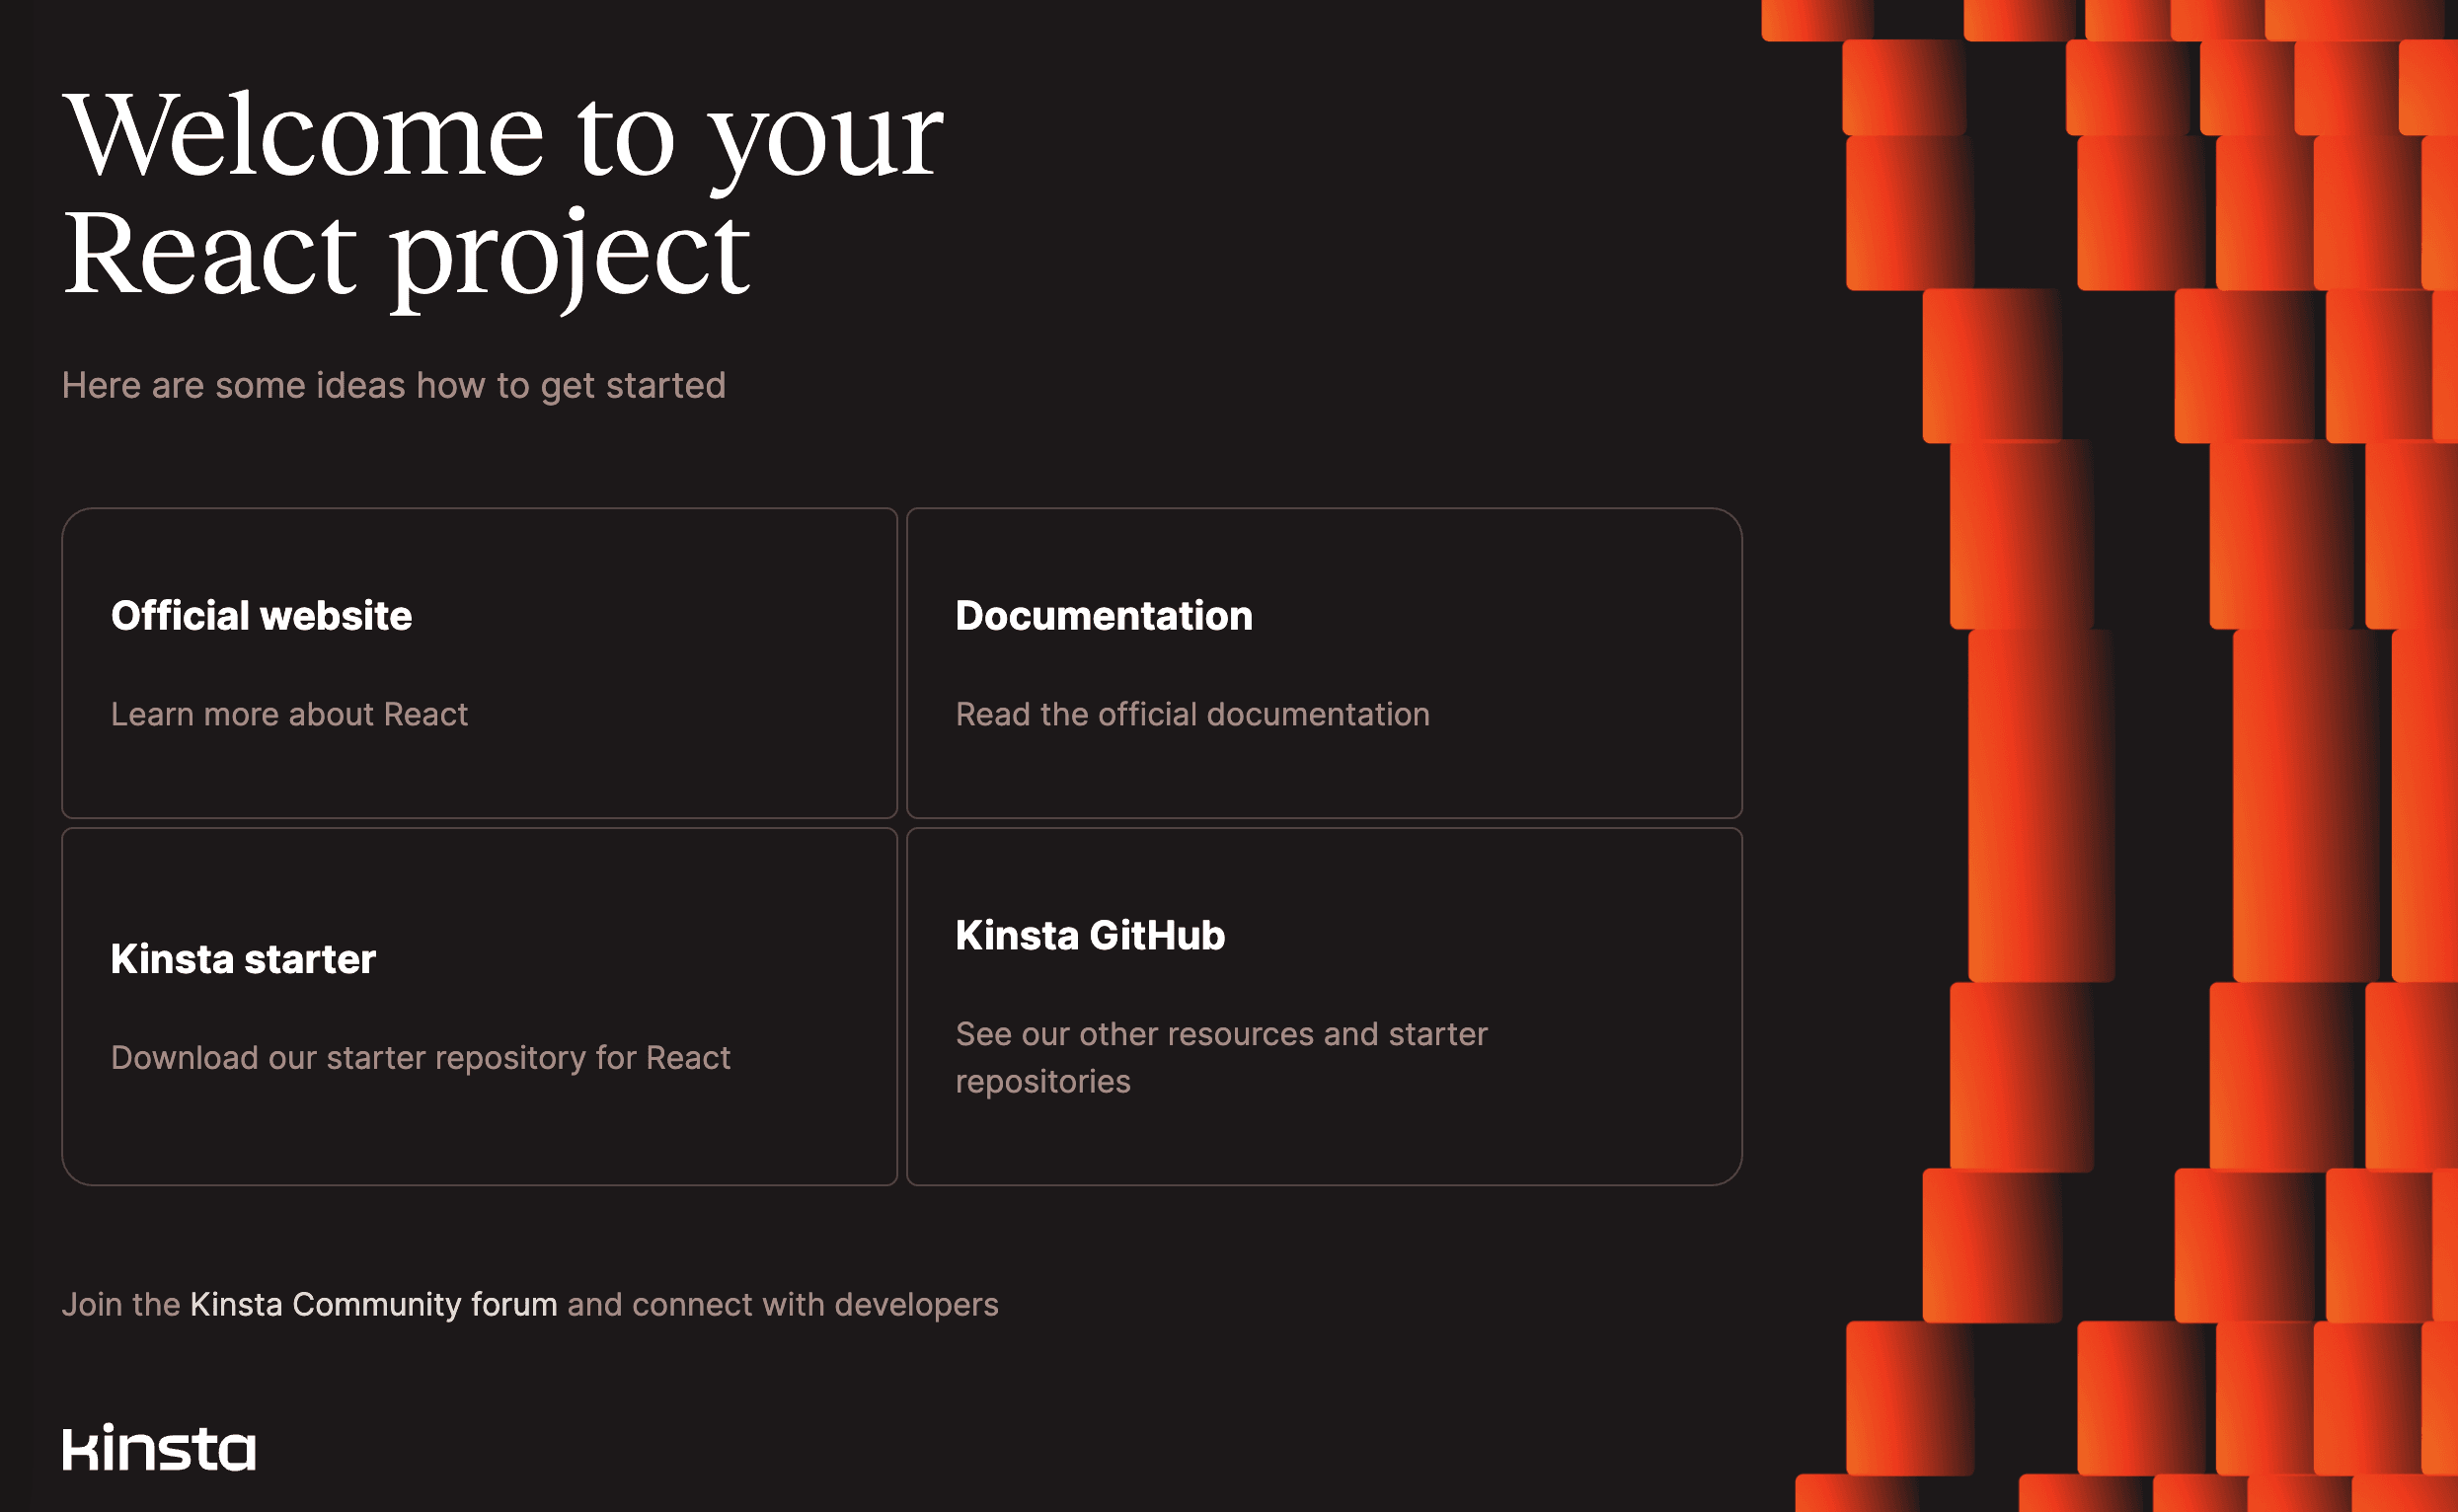
This is an example of how to set up a React application to deploy on Kinsta’s Application Hosting services from a GitHub repository.
React is a popular JavaScript library for building user interfaces. It allows developers to create reusable UI components and efficiently update the UI in response to data changes. More information is available on the React website.
- In MyKinsta, click Applications > Add application > select Git repository > Public repository, and complete as follows:
- Repository URL: https://github.com/kinsta/hello-world-react
- Branch: main
- Enter a Name, choose a Location, choose a pod size within Resources, and click Create & deploy.
During deployment, Kinsta automatically detects the Start command for the web process and installs dependencies defined in your package.json file. The app is available as soon as the deployment finishes, and the Kinsta Welcome page loads at your application’s URL.
Web server setup
Port
Kinsta automatically sets the PORT environment variable. You should not define it yourself, and you should not hard-code it into the application.
Start command
Kinsta automatically creates a web process based on the npm start command in the package.json file when deploying an application.
Deployment lifecycle
Whenever a deployment is initiated (through creating an application or redeploying due to an incoming commit), the npm start and npm build commands are run.
React with Vite
This is an example of how to set up a React application with Vite to deploy on Kinsta’s Application Hosting services from a GitHub repository.
Vite is a tool that helps you build decentralized applications; it provides developer tools and APIs to simplify the development process and supports multiple programming languages. More information can be found on the Vite website.
React is a popular JavaScript library for building user interfaces. It allows developers to create reusable UI components and efficiently update the UI in response to data changes. More information is available on the React website.
- In MyKinsta, click Applications > Add application > select Git repository > Public repository, and complete as follows:
- Repository URL: https://github.com/kinsta/hello-world-react-vite
- Branch: main
- Enter a Name, choose a Location, choose a pod size within Resources, and click Create & deploy.
During deployment, Kinsta automatically detects the Start command for the web process and installs dependencies defined in your package.json file. The app is available as soon as the deployment finishes, and the Kinsta Welcome page loads at your application’s URL.
Web server setup
Port
Kinsta automatically sets the PORT environment variable. You should not define it yourself, and you should not hard-code it into the application.
Start command
Kinsta automatically creates a web process based on the npm start command in the package.json file when deploying an application.
Deployment lifecycle
Whenever a deployment is initiated (through creating an application or redeploying due to an incoming commit), the npm install and npm build commands are run.