Node.js
To use our example repositories, you must create a MyKinsta account. This guide includes examples of how to set up the following Node.js applications to deploy on Kinsta’s Application Hosting services from a GitHub repository:
Node.js
- In MyKinsta, click Applications > Add application > select Git repository > Public repository, and complete as follows:
- Repository URL: https://github.com/kinsta/hello-world-nodejs
- Branch: main
- Enter a Name, choose a Location, choose a pod size within Resources, and click Create & deploy.
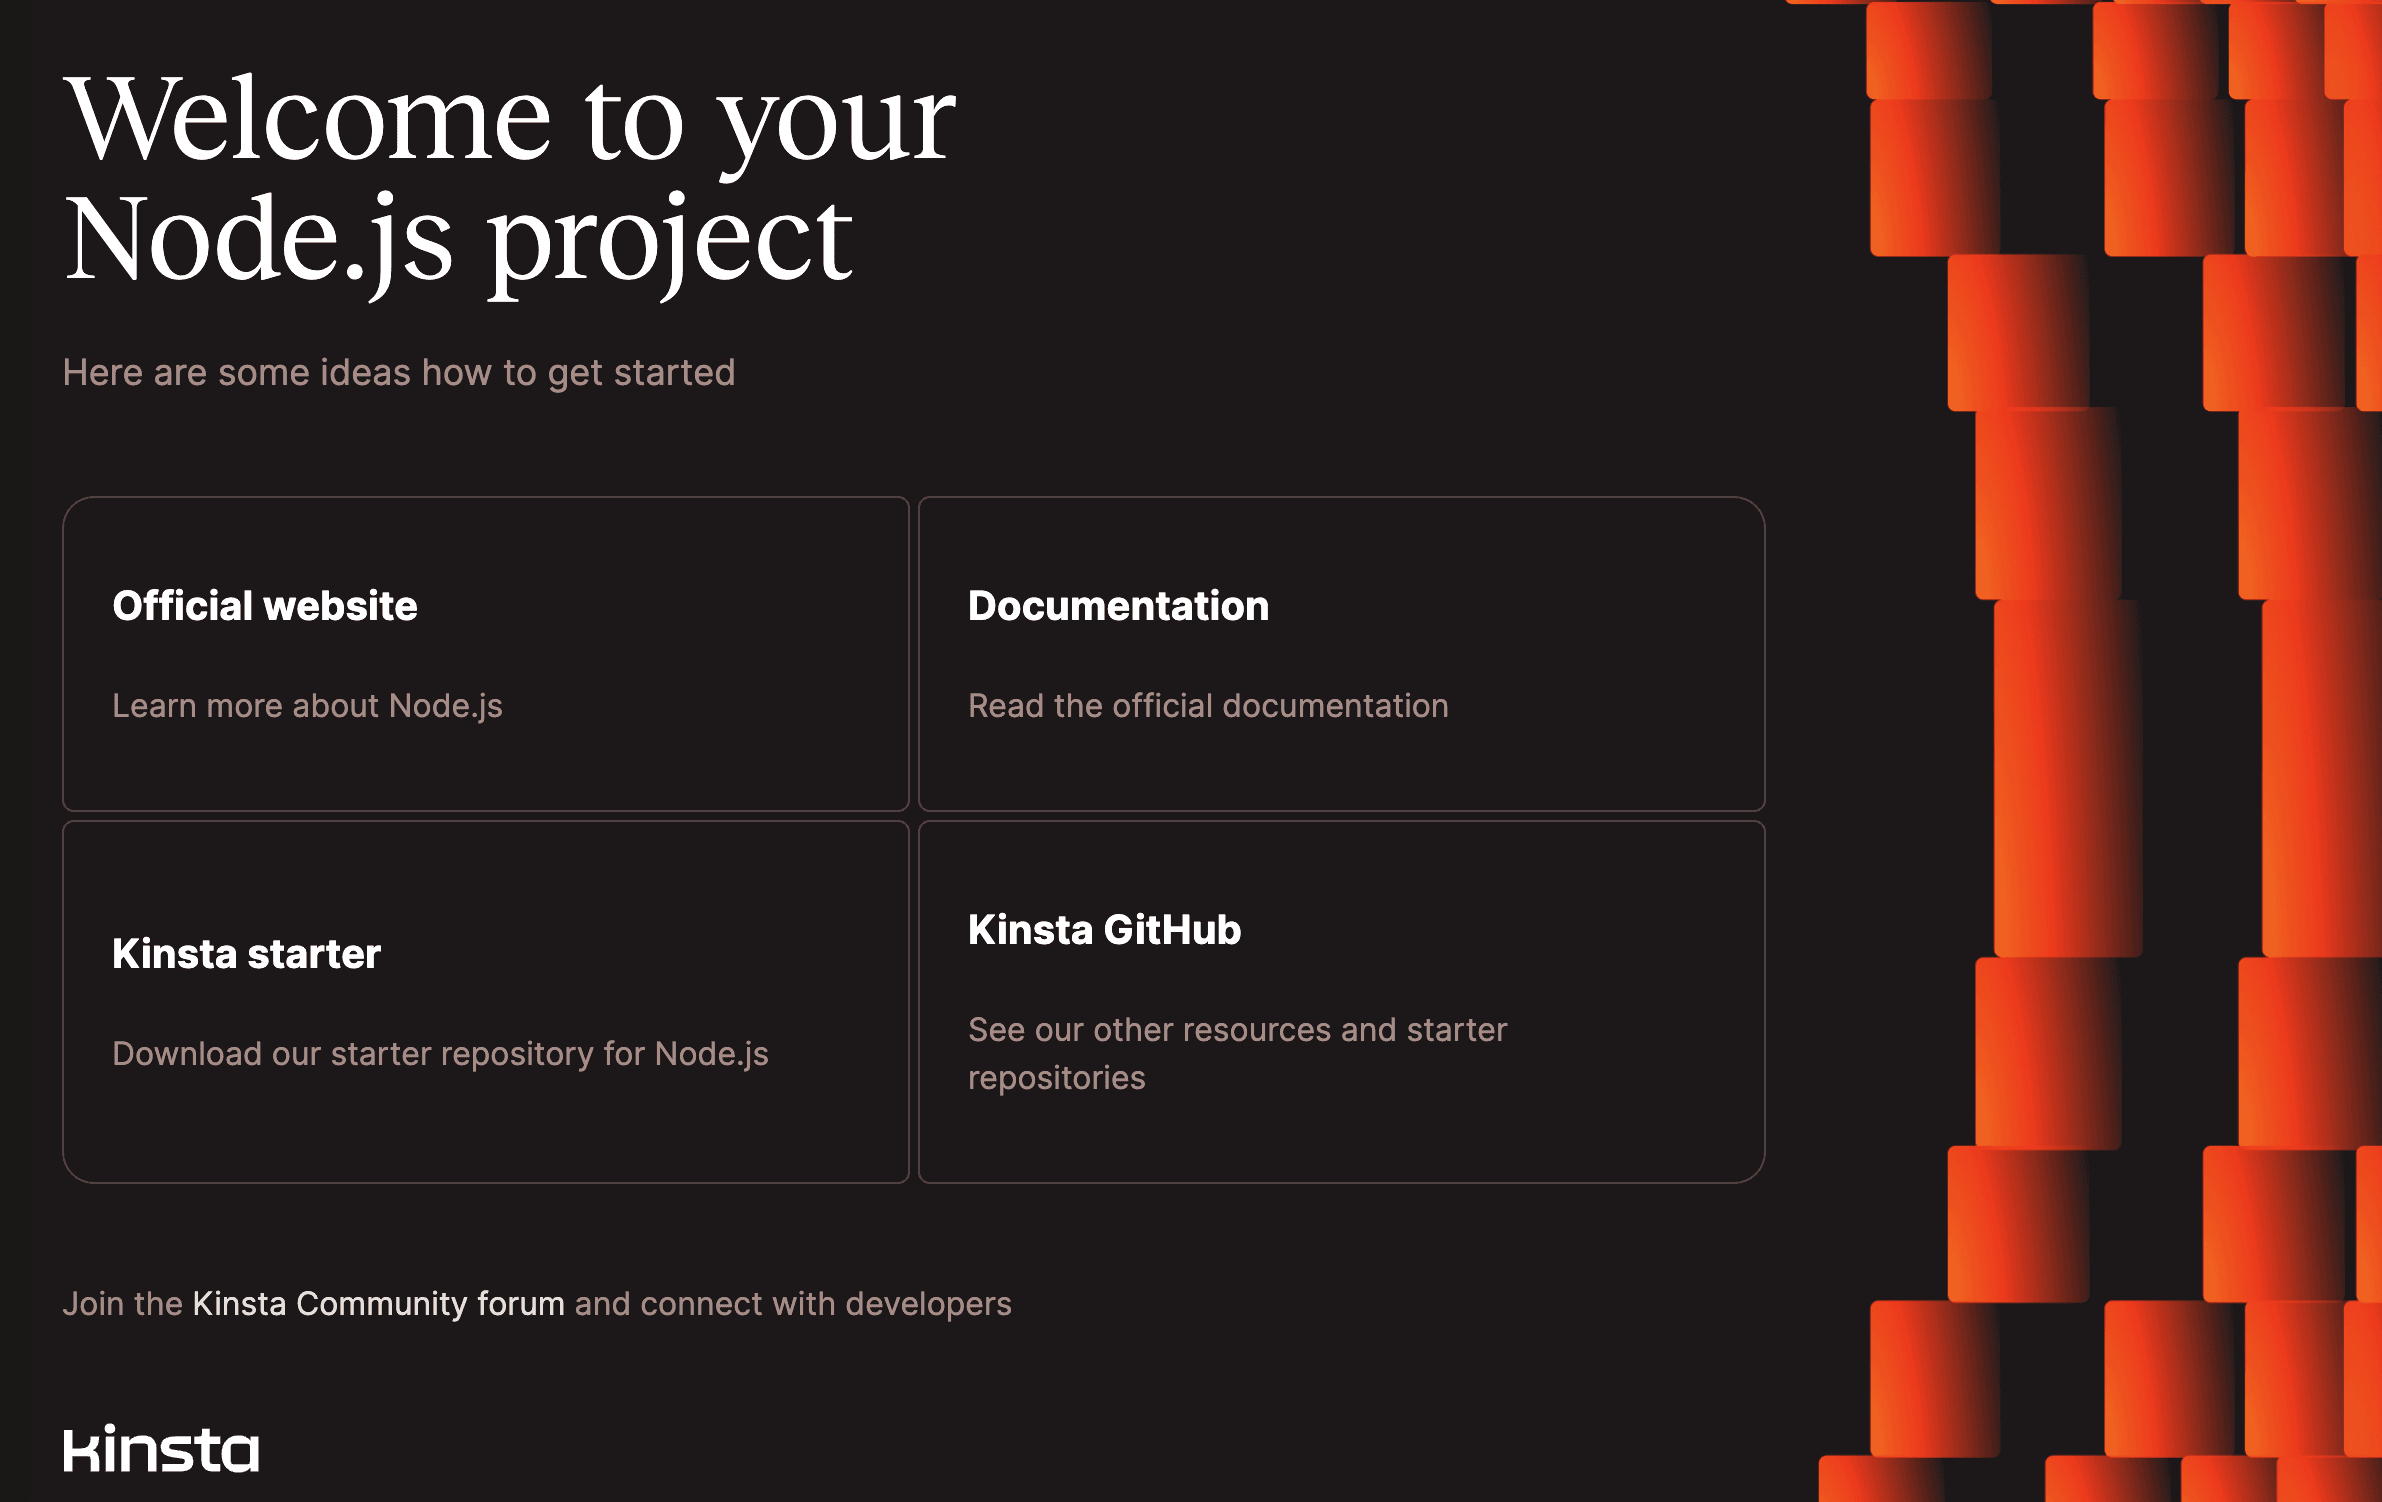
During deployment, Kinsta automatically detects the Start command for the web process and installs dependencies defined in your package.json file. The app is available as soon as the deployment finishes, and the Kinsta Welcome page loads at your application’s URL.
Prefer to watch the video version?
Web server setup
Port
Kinsta automatically sets the PORT environment variable. You do not need to define it yourself or hard-code it into the application. Use process.env.PORT in your code when referring to the server port.
app.listen(process.env.PORT, () => {
console.log(`Hello World Application is running on port ${process.env.PORT}`)
})
Start command
When you deploy an application, Kinsta automatically creates a web process with npm start as the Start command. Make sure you use this command to run your server. If you want to use a different command, you need to modify the web process in MyKinsta.
"scripts": {
"start": "node server.js"
},
Environment variables
By default, the NODE_ENV environment variable is not set to production for Node.js applications; you must add this environment variable manually.
Deployment lifecycle
Whenever a deployment is initiated (through creating an application or re-deploying due to an incoming commit), the npm build command is run, followed by the npm start command.
Node.js application with a Dockerfile
- In MyKinsta, click Applications > Add application > select Git repository > Public repository, and complete as follows:
- Repository URL: https://github.com/kinsta/hello-world-dockerfile-nodejs
- Branch: main
- Enter a Name, choose a Location, choose a pod size within Resources, and click Create & deploy.
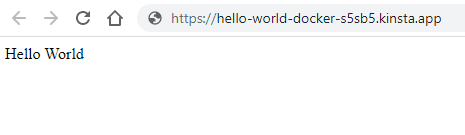
The Dockerfile must contain the Start command either in a CMD line or ENTRYPOINT instruction. The app is available as soon as the deployment finishes, and a Hello World page loads at your application’s URL.
Deployment lifecycle
When you create the app, Kinsta creates a process from the CMD instruction in the Dockerfile:
CMD ["npm", "run", "start"]If you change this command in the repository after deploying the application, the process is not automatically updated in MyKinsta, so you must also edit the Start command in your application’s Processes.
Node.js application to send emails
This is an example of how to set up a Node.js application to send emails via SendGrid on Kinsta’s Application Hosting services, deployed from a GitHub repository.
Kinsta does not natively support outbound emails from servers. Sending emails through specialized outbound providers such as SendGrid or Mailchimp offers more flexibility and higher success rates for transactional and campaign emails.
- In MyKinsta, click Applications > Add application > select Git repository > Public repository, and complete as follows:
- Repository URL: https://github.com/kinsta/hello-world-email-nodejs
- Branch: main
- Enter a Name, choose a Location, choose a pod size within Resources, and click Create.
- Once the application is created, click Environment variables > Add environment variable and add the following:
SENDGRID_API_KEY: The API key from SendGrid.TEST_EMAIL_TO_ADDRESS: The address you’d like to send the test email to.TEST_EMAIL_FROM_ADDRESS: The address you’d like to send the test email from.TEST_ENDPOINT: The endpoint you’d like to use as a trigger to send the test email. Use a random string of at least 8 characters.
- Click Deployments > Deploy now > Deploy application.
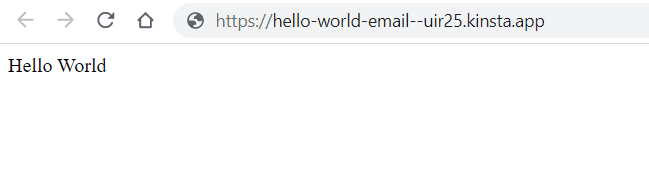
The app is available as soon as the deployment finishes, and a Hello World page loads at your application’s URL.
Trigger an email
This project does not require a build phase. The start command runs node server.js, which starts an Express server with two endpoints:
/: A simple page that returns the Hello World message/${TEST_ENDPOINT}: A page that triggers a test email.
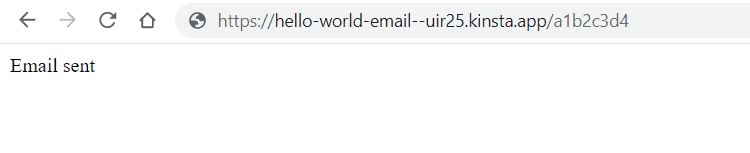
To trigger an email, find the URL of your deployment on the Deployments page, append your test endpoint to this URL, and visit the page. For example, if your TEST_ENDPOINT is set to o34nifnodhni4of and your latest deployment is at https://example.kinsta.app you can trigger a test email from https://example.kinsta.app/o34nifnodhni4of in your browser.
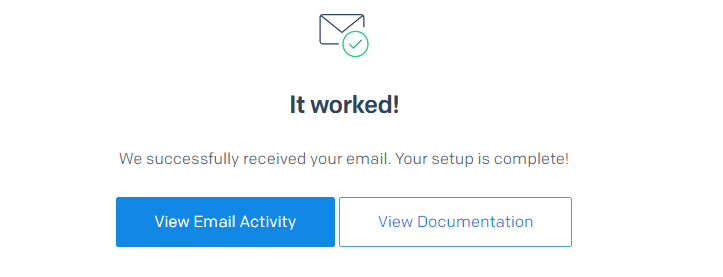
An “Email sent” message appears if the test email is successful.
If you verify this at SendGrid, you also get a successful message.