Ruby
To use our example repositories, you must create a MyKinsta account. The following are examples of how to set up a Ruby on Rails application and a Ruby on Rails application with a Dockerfile to deploy on Kinsta’s Application Hosting services from a GitHub repository.
Ruby on Rails
- In MyKinsta, click Applications > Add application > select Git repository > Public repository, and complete as follows:
- Repository URL: https://github.com/kinsta/hello-world-rails
- Branch: main
- Enter a Name, choose a Location, choose a pod size within Resources, and click Create & deploy.
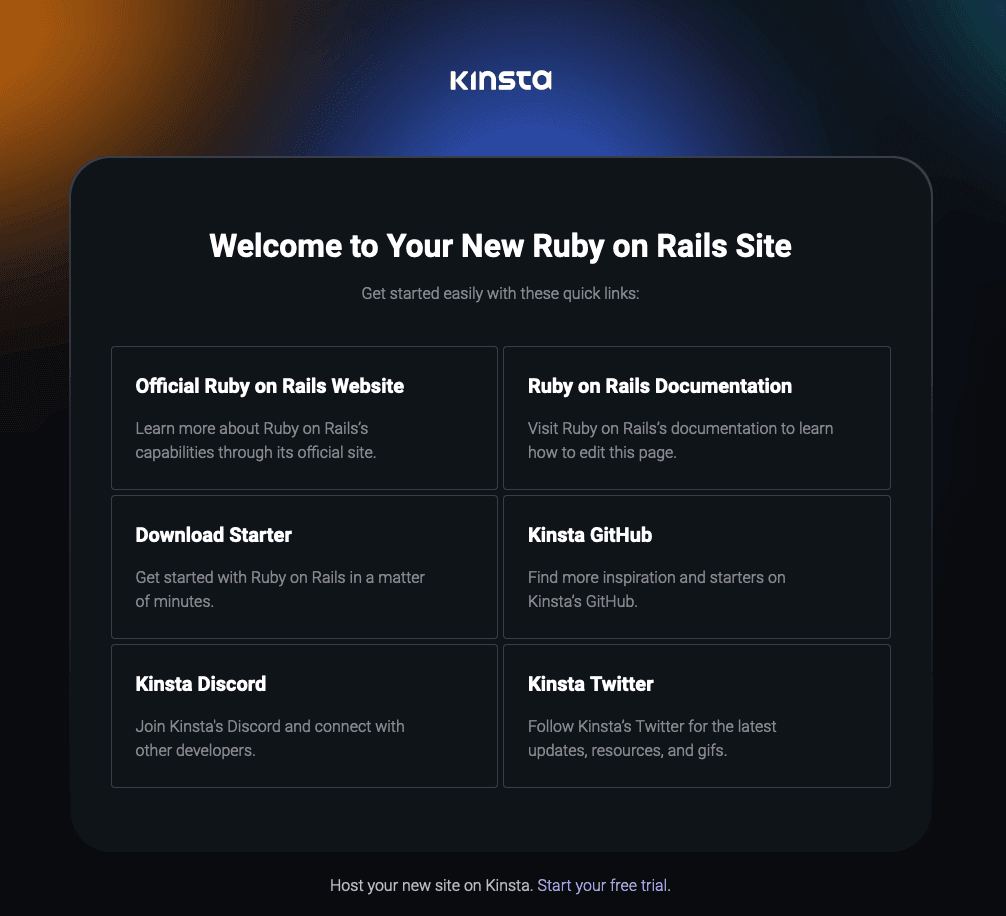
During deployment, Kinsta automatically detects the Start command for the web process from the Procfile in the repository and installs dependencies defined in your gemfile file. The app is available as soon as the deployment finishes, and the Kinsta Welcome page loads at your application’s URL.
Prefer to watch the video version?
Web server setup
Start command
When you deploy an application and include a Procfile in the repository, Kinsta automatically creates a web process based on the Procfile in the root of the repository. Use this command in your Procfile to run your web server:
web: rails serverRuby on Rails with a Dockerfile
- In MyKinsta, click Applications > Add application > select Git repository > Public repository, and complete as follows:
- Repository URL: https://github.com/kinsta/hello-world-dockerfile-rails
- Branch: main
- Enter a Name, choose a Location, choose a pod size within Resources, and click Create & deploy.
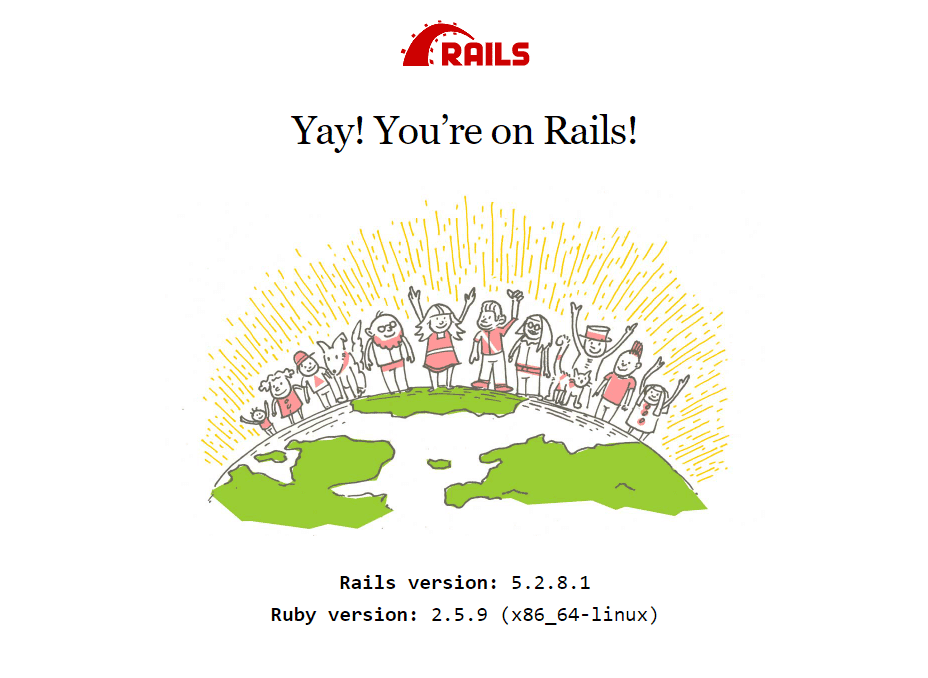
The Dockerfile must contain the Start command either in a CMD line or ENTRYPOINT instruction. The app is available as soon as the deployment finishes, and the default Rails page confirming successful installation loads at your application’s URL.
Deployment lifecycle
When you first create the app, Kinsta creates a process from the ENTRYPOINT instruction in the Dockerfile:
ENTRYPOINT ["entrypoint.sh"]If you change this command in the repository after deploying the application, the process is not automatically updated in MyKinsta, so you must also edit the Start command in your application’s Processes.
Jekyll
This is an example of how to set up a static site with Jekyll on Kinsta’s Application Hosting services from a GitHub repository. A workaround using GitHub actions to deploy Jekyll on Static Site Hosting is also available.
Jekyll is an open-source static site generator that uses dynamic React components to produce a customized static site without the need for a database. More information is available on the Jekyll website.
- In MyKinsta, click Applications > Add application > select Git repository > Public repository, and complete as follows:
- Repository URL: https://github.com/kinsta/hello-world-jekyll
- Branch: main
- Enter a Name, choose a Location, choose a pod size within Resources, and click Create & deploy.
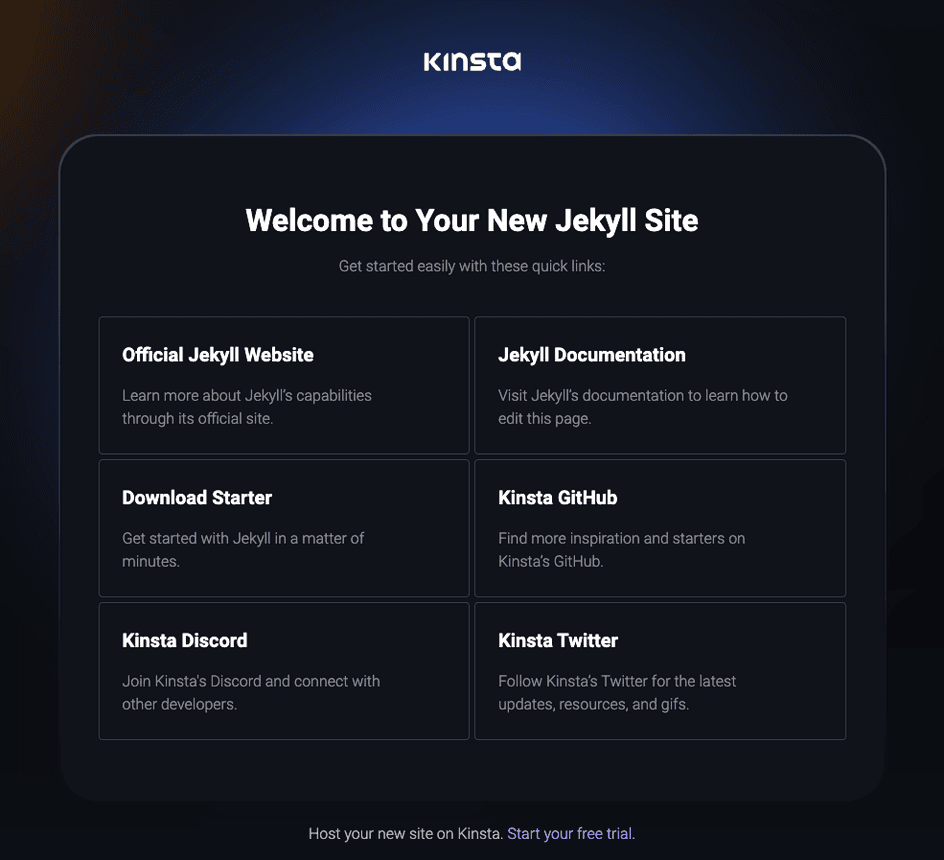
During deployment, Kinsta automatically detects the Start command for the web process from the Procfile in the repository and installs dependencies defined in your gemfile file. The app is available as soon as the deployment finishes, and the Kinsta Welcome page loads at your application’s URL.
Web server setup
Port
Kinsta automatically sets the PORT environment variable. You should not define it yourself or hard-code it into the application.
Start command
When you deploy an application and include a Procfile in the repository, Kinsta automatically creates a web process based on the Procfile in the root of the repository. Use this command in your Procfile to run your web server:
web: bundle exec jekyll build && ruby -run -e httpd _siteDeployment lifecycle
Whenever a deployment is initiated (through creating an application or re-deploying due to an incoming commit), the bundle install command is run.