Scala
To use our example repositories, you must create a MyKinsta account. This is an example of how to set up a Scala application to deploy on Kinsta’s Application Hosting services from a GitHub repository.
- In MyKinsta, click Applications > Add application > select Git repository > Public repository, and complete as follows:
- Repository URL: https://github.com/kinsta/hello-world-scala
- Branch: main
- Enter a Name, choose a Location, choose a pod size within Resources, and click Create & deploy.
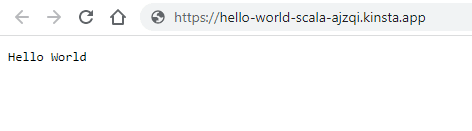
During deployment, Kinsta automatically detects the Start command for the web process and installs dependencies defined in your build.sbt file. The app is available as soon as the deployment finishes, and a Hello World page loads at your application’s URL.
Prefer to watch the video version?
Web server setup
Port
Kinsta automatically sets the PORT environment variable. You do not need to define it or hard-code it into the application. Use scala.util.Properties.envOrElse("PORT", "8080") in your code when referring to the server port.
Start command
When you deploy an application Kinsta automatically creates a web process with the built executable as the Start command.