Python
To use our example repositories, you must create a MyKinsta account. This guide includes examples of how to set up the following Python applications to deploy on Kinsta’s Application Hosting services from a GitHub repository.
Python
- In MyKinsta, click Applications > Add application > select Git repository > Public repository, and complete as follows:
- Repository URL: https://github.com/kinsta/hello-world-python
- Branch: main
- Enter a Name, choose a Location, choose a pod size within Resources, and click Create & deploy.
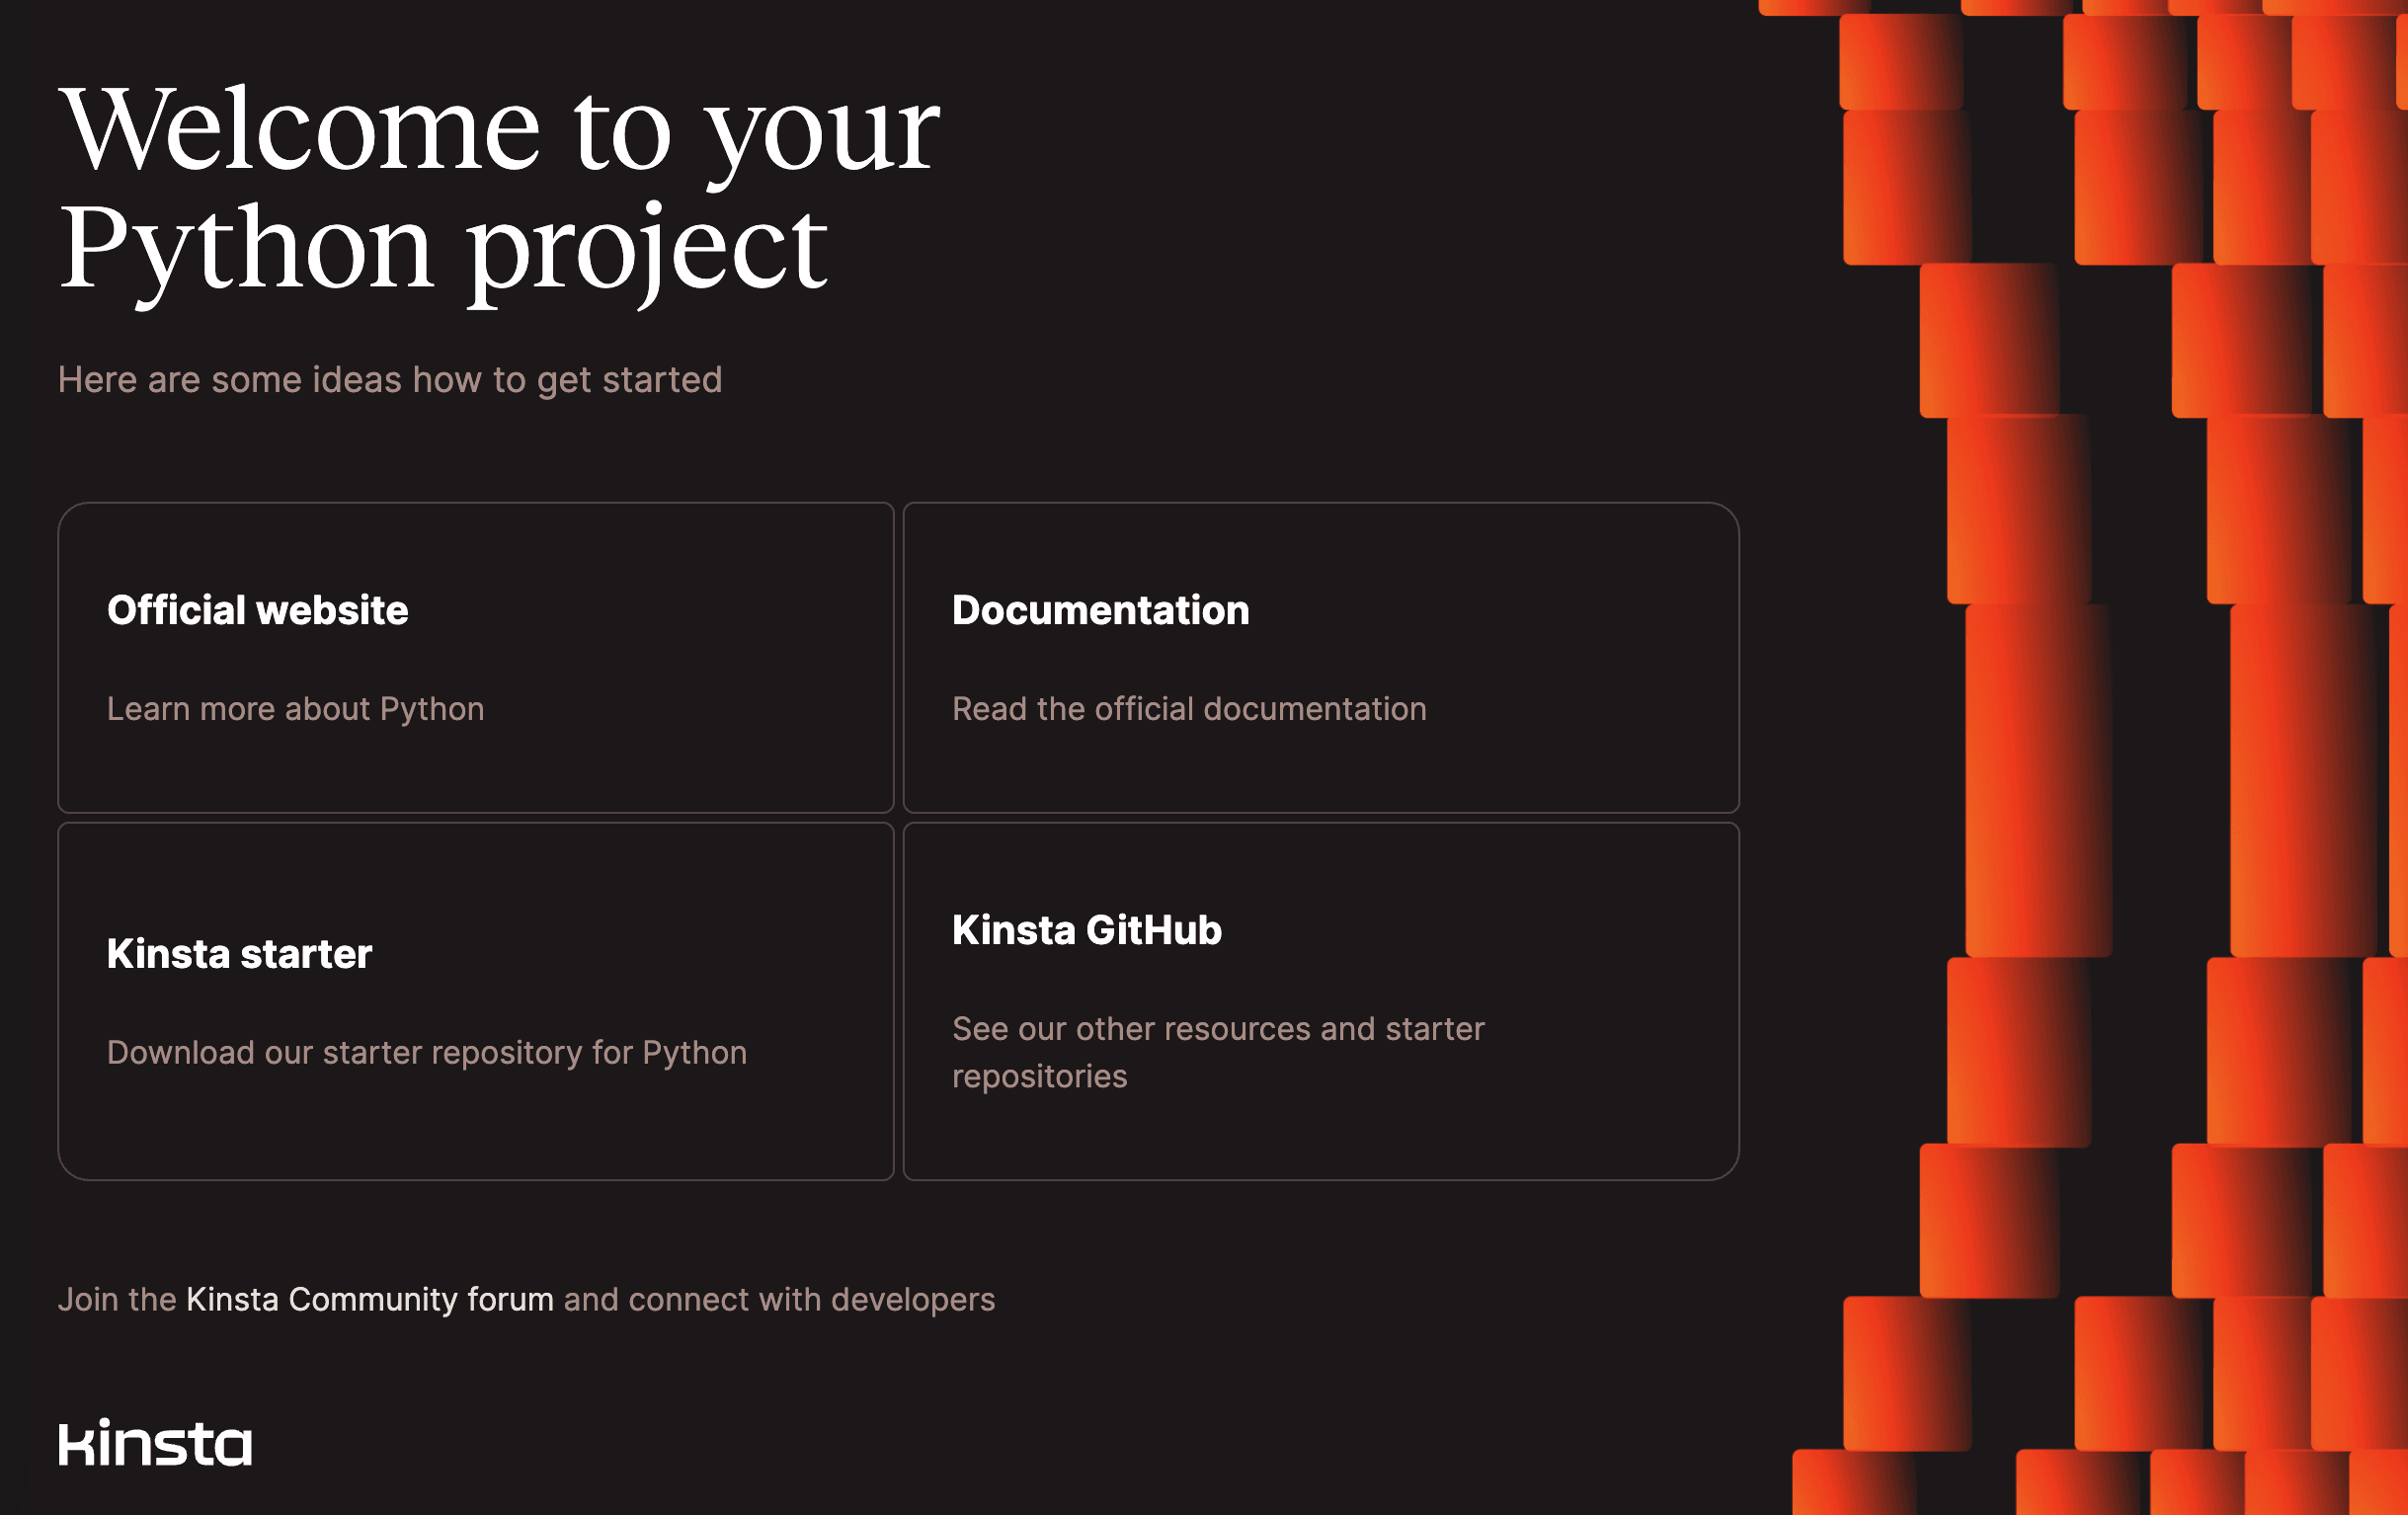
During deployment, Kinsta automatically detects the Start command for the web process from the Procfile in the repository and installs dependencies defined in your requirements.txt file. The app is available as soon as the deployment finishes, and the Kinsta Welcome page loads at your application’s URL.

Prefer to watch the video version?
Web server setup
When you deploy an application and include a Procfile in the repository, Kinsta automatically creates a web process based on the Procfile in the root of the repository. Use this command in your Procfile to run your web server:
web: python server.pyDjango
This is an example of how to set up a Django application to deploy on Kinsta’s Application Hosting services from a GitHub repository.
- In MyKinsta, click Applications > Add application > select Git repository > Public repository, and complete as follows:
- Repository URL: https://github.com/kinsta/hello-world-django
- Branch: main
- Enter a Name, choose a Location, choose a pod size within Resources, and click Create.
- Once the application is created, click Environment variables > Add environment variable, in Key 1 enter
SECRET_KEY, and in Value 1, add a random string, select Available during runtime and Available during build process and click Save. - Click Deployments > Deploy now > Deploy application.
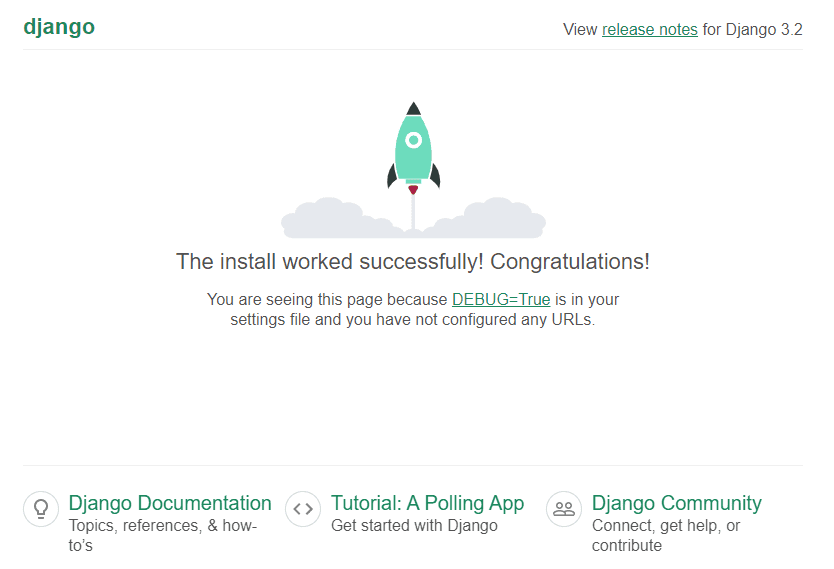
The python manage.py collectstatic command executes at every build to collect all static files to the directory defined in STATIC_ROOT. During deployment, Kinsta automatically detects the required command from the Procfile in the repository and installs dependencies defined in your requirements.txt file. The app is available as soon as the deployment finishes, and the default Django page confirming successful installation loads at your application’s URL.

Prefer to watch the video version?
Environment variables
The SECRET_KEY should not be stored in your repository but rather set up in an environment variable with a random string.
Web server setup
Start command
When you deploy an application and include a Procfile in the repository, Kinsta automatically creates a web process based on the Procfile in the root of the repository. Use this command in your Procfile to run your web server:
web: gunicorn helloworld.wsgiFlask
This is an example of how to set up a Flask application to deploy on Kinsta’s Application Hosting services from a GitHub repository.
- In MyKinsta, click Applications > Add application > select Git repository > Public repository, and complete as follows:
- Repository URL: https://github.com/kinsta/hello-world-flask
- Branch: main
- Enter a Name, choose a Location, choose a pod size within Resources, and click Create & deploy.
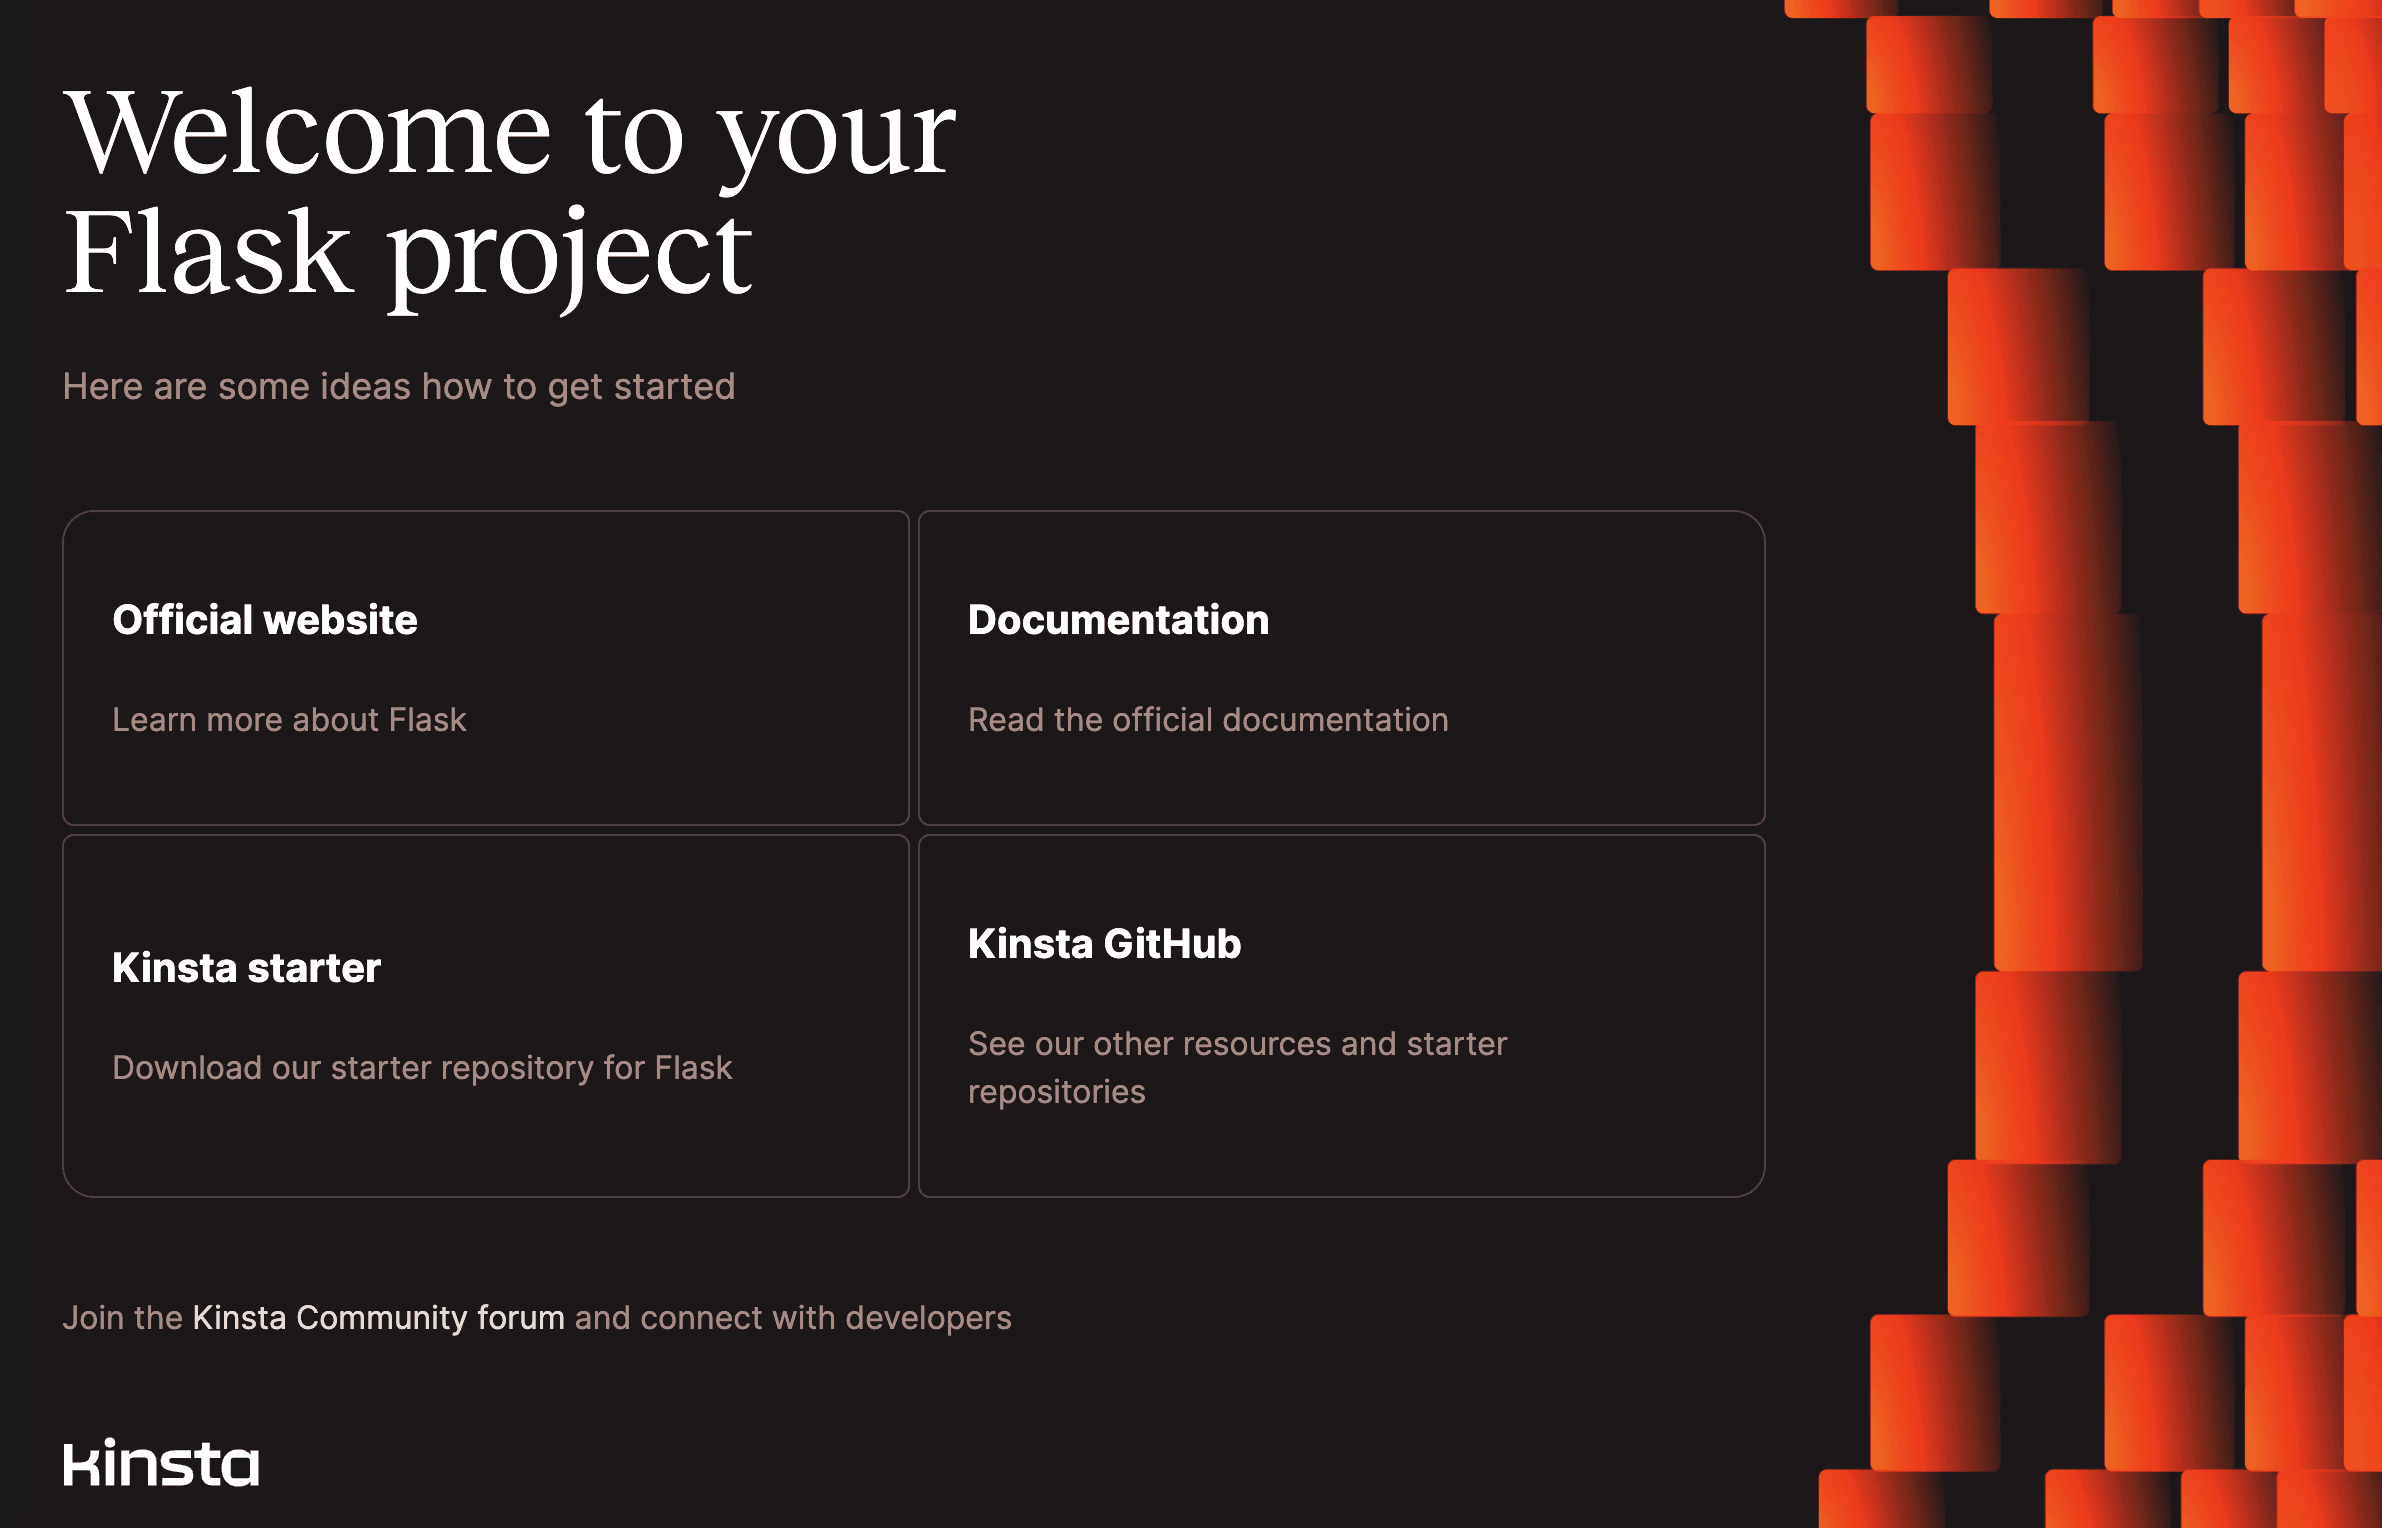
During deployment, Kinsta automatically detects the Start command for the web process from the Procfile in the repository and installs dependencies defined in your requirements.txt file. The app is available as soon as the deployment finishes, and the Kinsta Welcome page loads at your application’s URL.

Prefer to watch the video version?
Web server setup
Start command
When you deploy an application and include a Procfile in the repository, Kinsta automatically creates a web process based on the Procfile in the root of the repository. Use this command in your Procfile to run your web server:
web: gunicorn helloworld.wsgiLangchain with a Dockerfile
This is an example of how to set up a LangChain application with a Dockerfile to deploy on Kinsta’s Application Hosting services from a GitHub repository.
The LangChain framework is intended to develop language-model-powered applications that are data-aware, agentic (allow a language model to interact with its environment), and differentiated. More information is available on the LangChain website.
- Log in to OpenAI (create an account if you do not already have one). Go to OpenAI API and generate and copy your API key.
- In MyKinsta, click Applications > Add application > select Git repository > Public repository, and complete as follows:
- Repository URL: https://github.com/kinsta/hello-world-langchain
- Branch: main
- Enter a Name, choose a Location, choose a pod size within Resources, and click Create.
- Once the application is created, click Environment variables > Add environment variable, in Key 1, enter
OPENAI_API_KEY, and in Value 1, paste the API key you copied from Open AI and click Save. - Click Deployments > Deploy now > Deploy application.
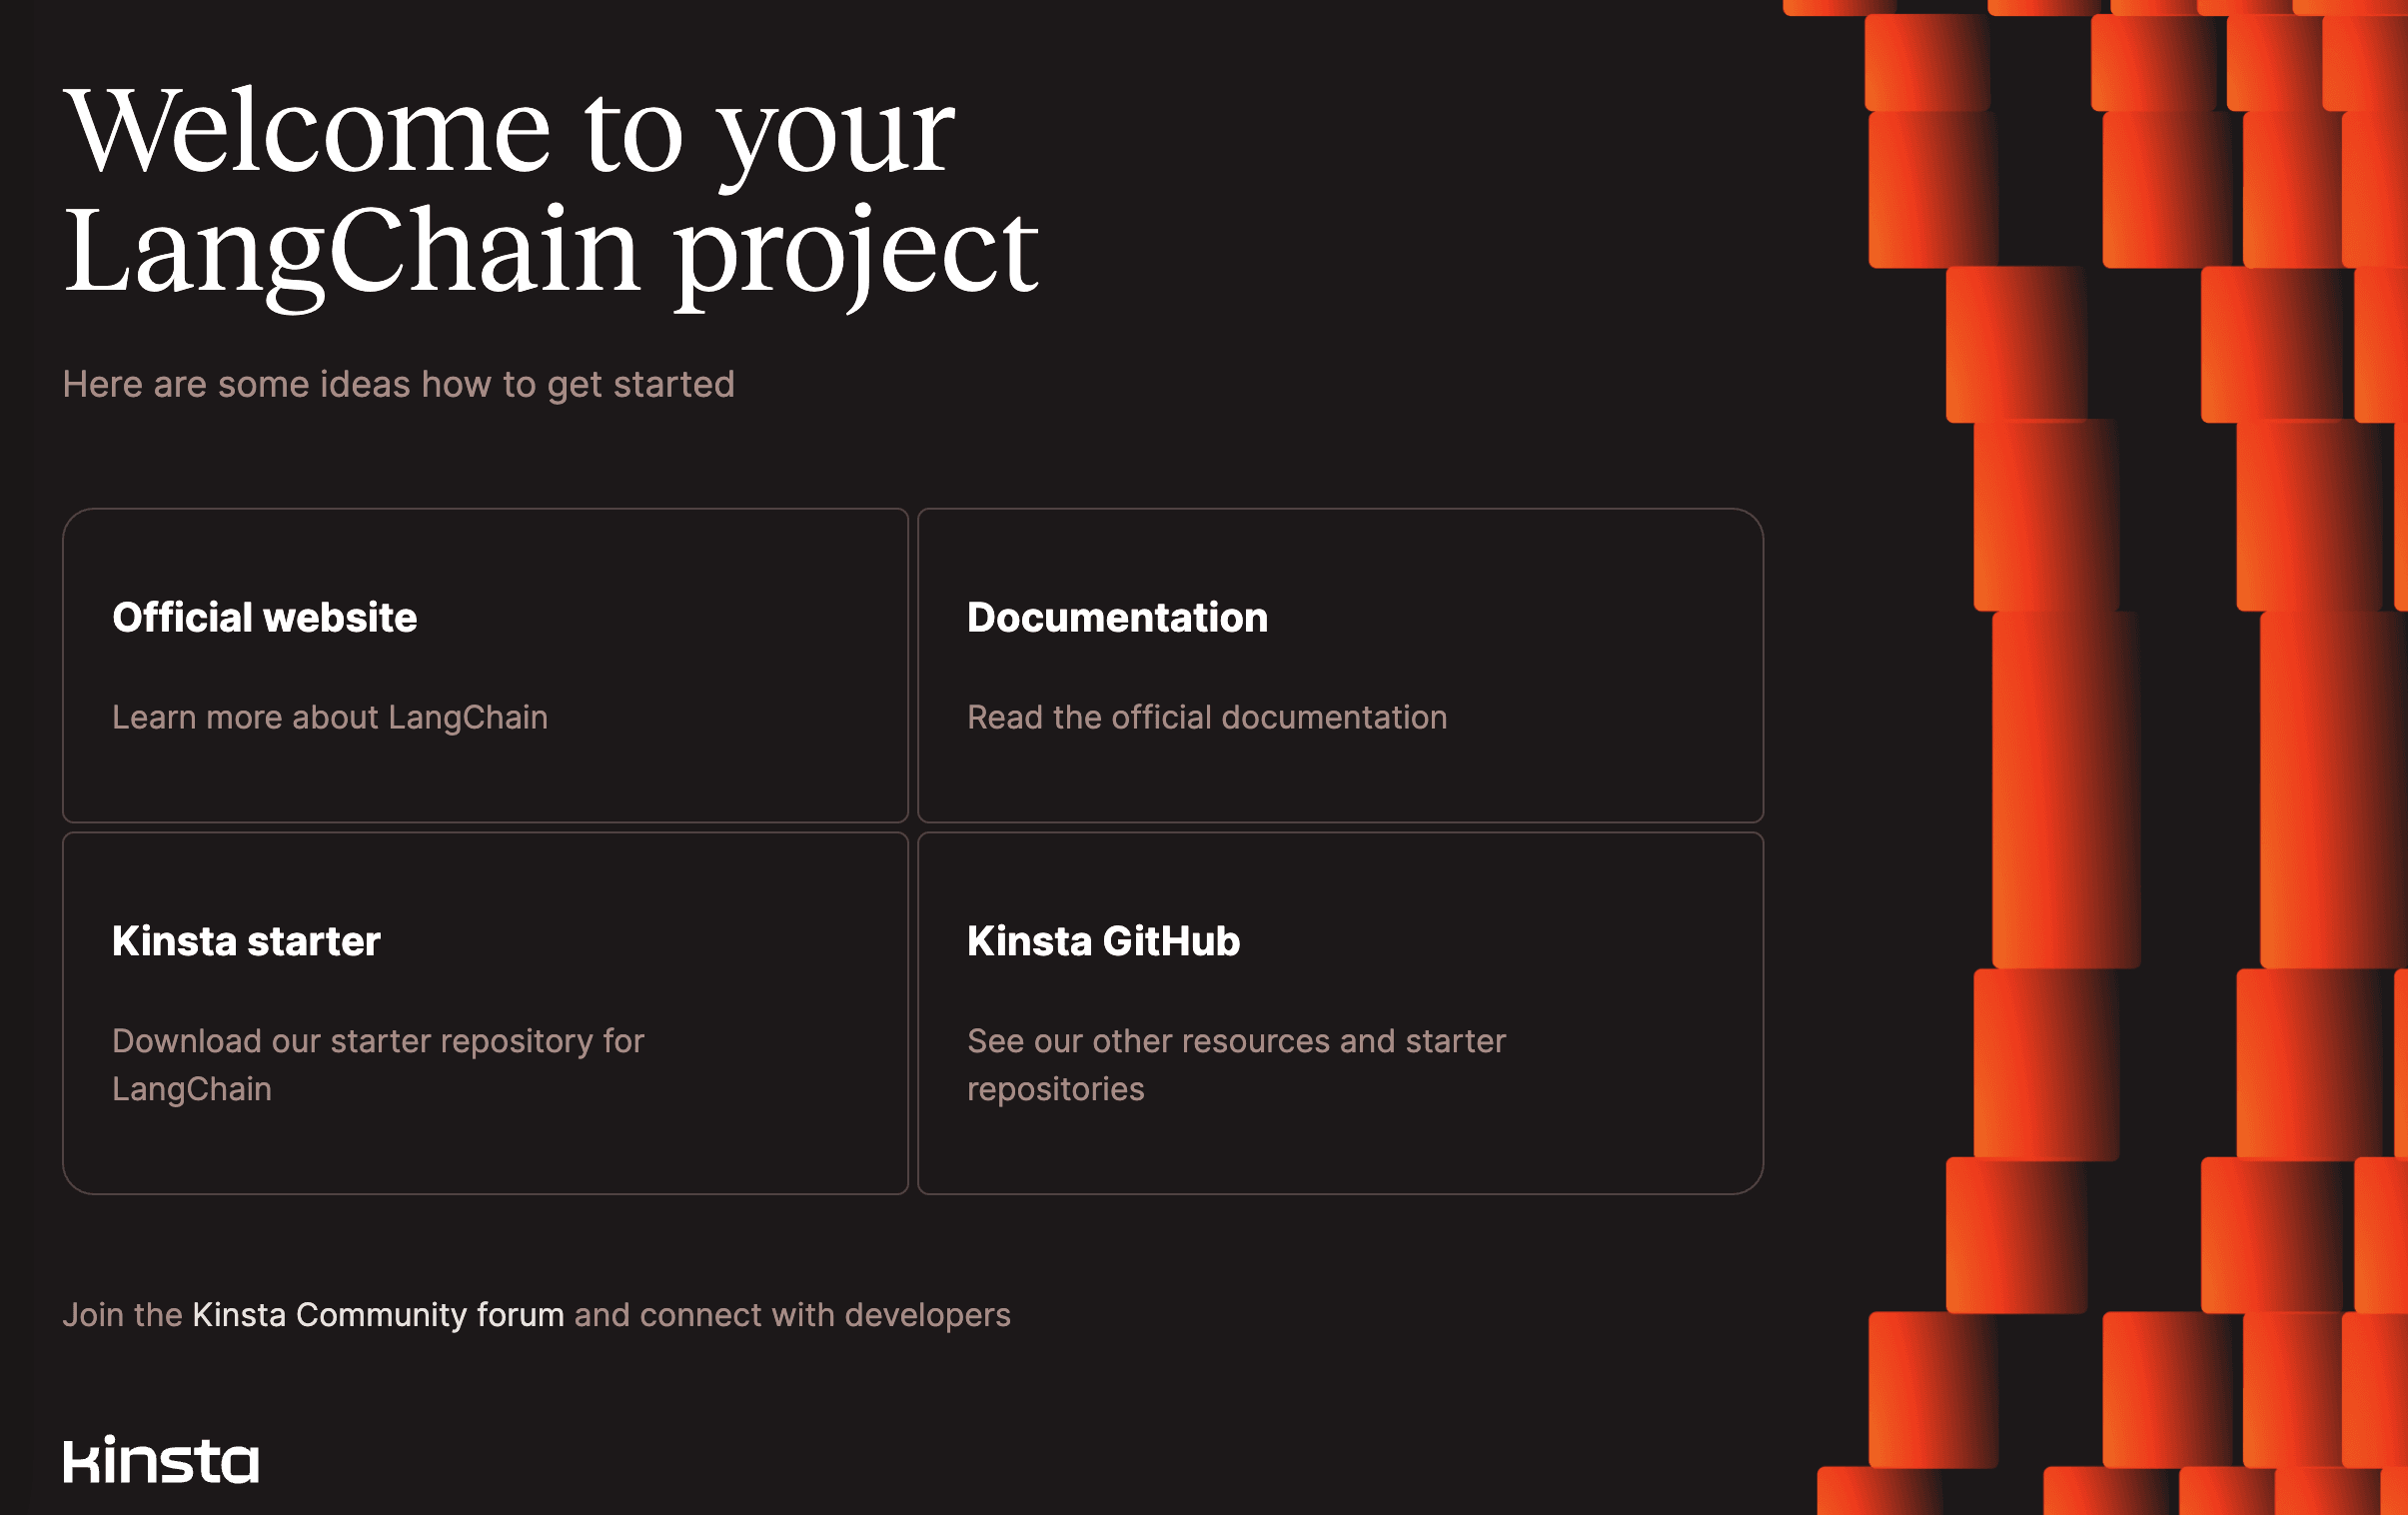
During deployment, Kinsta automatically installs dependencies defined in your requirements.txt file. The app is available as soon as the deployment finishes, and the Kinsta Welcome page loads at your application’s URL.

Web server setup
Build environment
When creating your LangChain application, you must choose Use Dockerfile to set up container image in the Build environment step.
Environment variables
In Environment variables, in Key 1, enter OPENAI_API_KEY, and in Value 1, paste the API key you copied from Open AI. If you use different models (not OpenAI’s), adjust the key and value as needed.